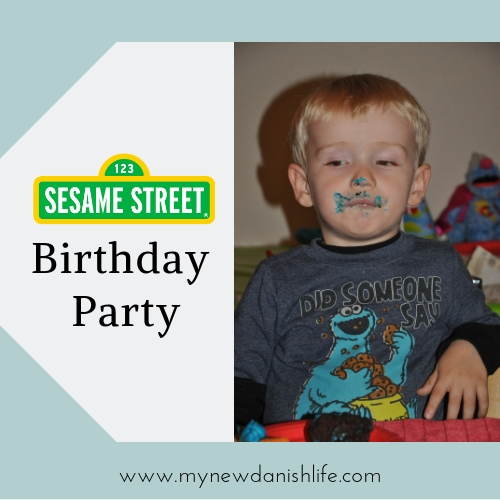
Sesame Street Birthday Party
Can you tell me how to get…how to get to the Sesame Street Party? 🙂 If you know the opening song to the TV show “Sesame Street”, you’ll get this intro!
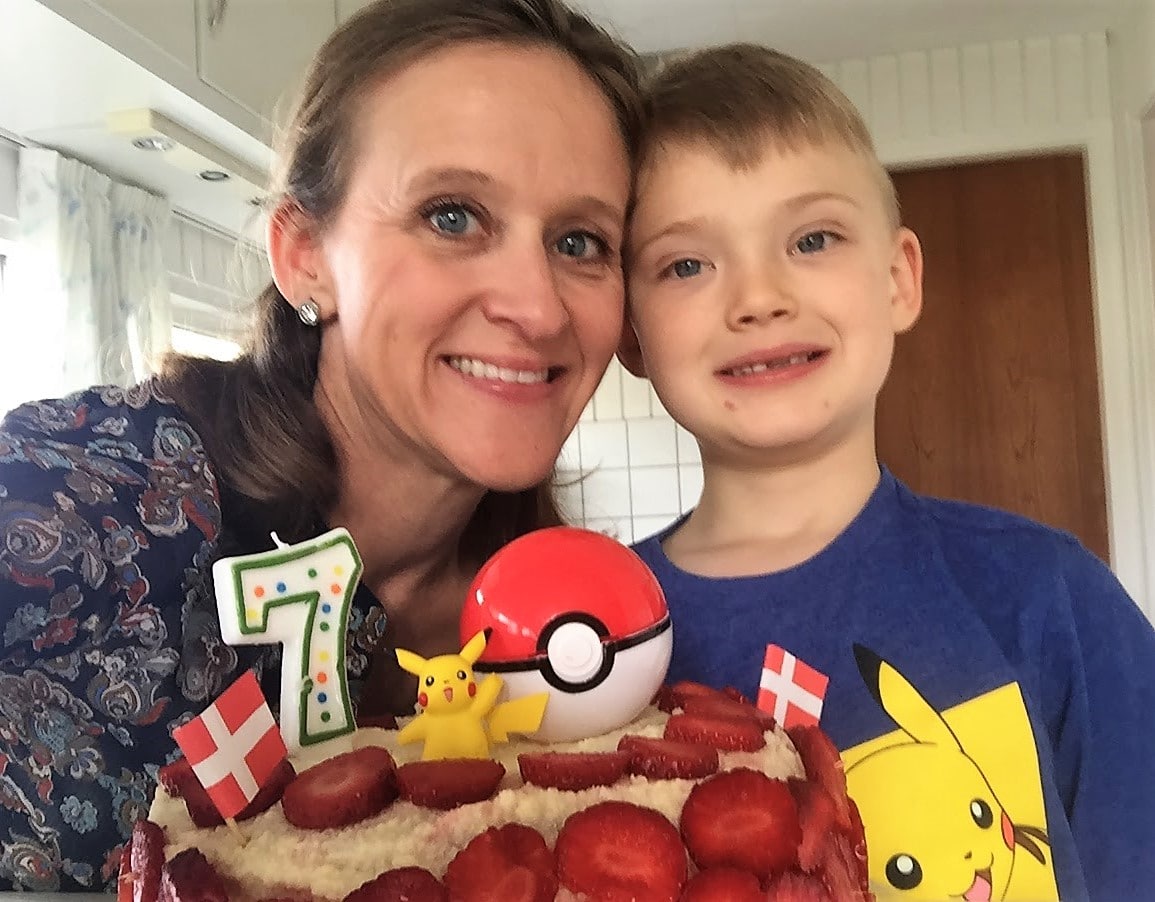
My little guy is turning 3, and what better way to celebrate than to do so surrounded by characters from Sesame Street! Over the summer, we took a family trip to Sesame Street Place amusement park, just outside of Philadelphia. I have to admit that I am a huge fan of all things Sesame Street, and I might have been a major influence when planning the activities for our summer vacation. I can’t feel too badly about it, since it was definitely age appropriate for my two boys, and the entire family had such a great time! 🙂
Keeping the spirit of Sesame Street Place alive, we decided to go with a Sesame Street-themed birthday party. Theme parties are just so much fun. The decorations really make the event if you ask me! 🙂 I, of course, started off on Pinterest…where else?! I got lots of really great ideas for things to do for the party, but I also found other supplies in various places. Have a look!
DECORATIONS
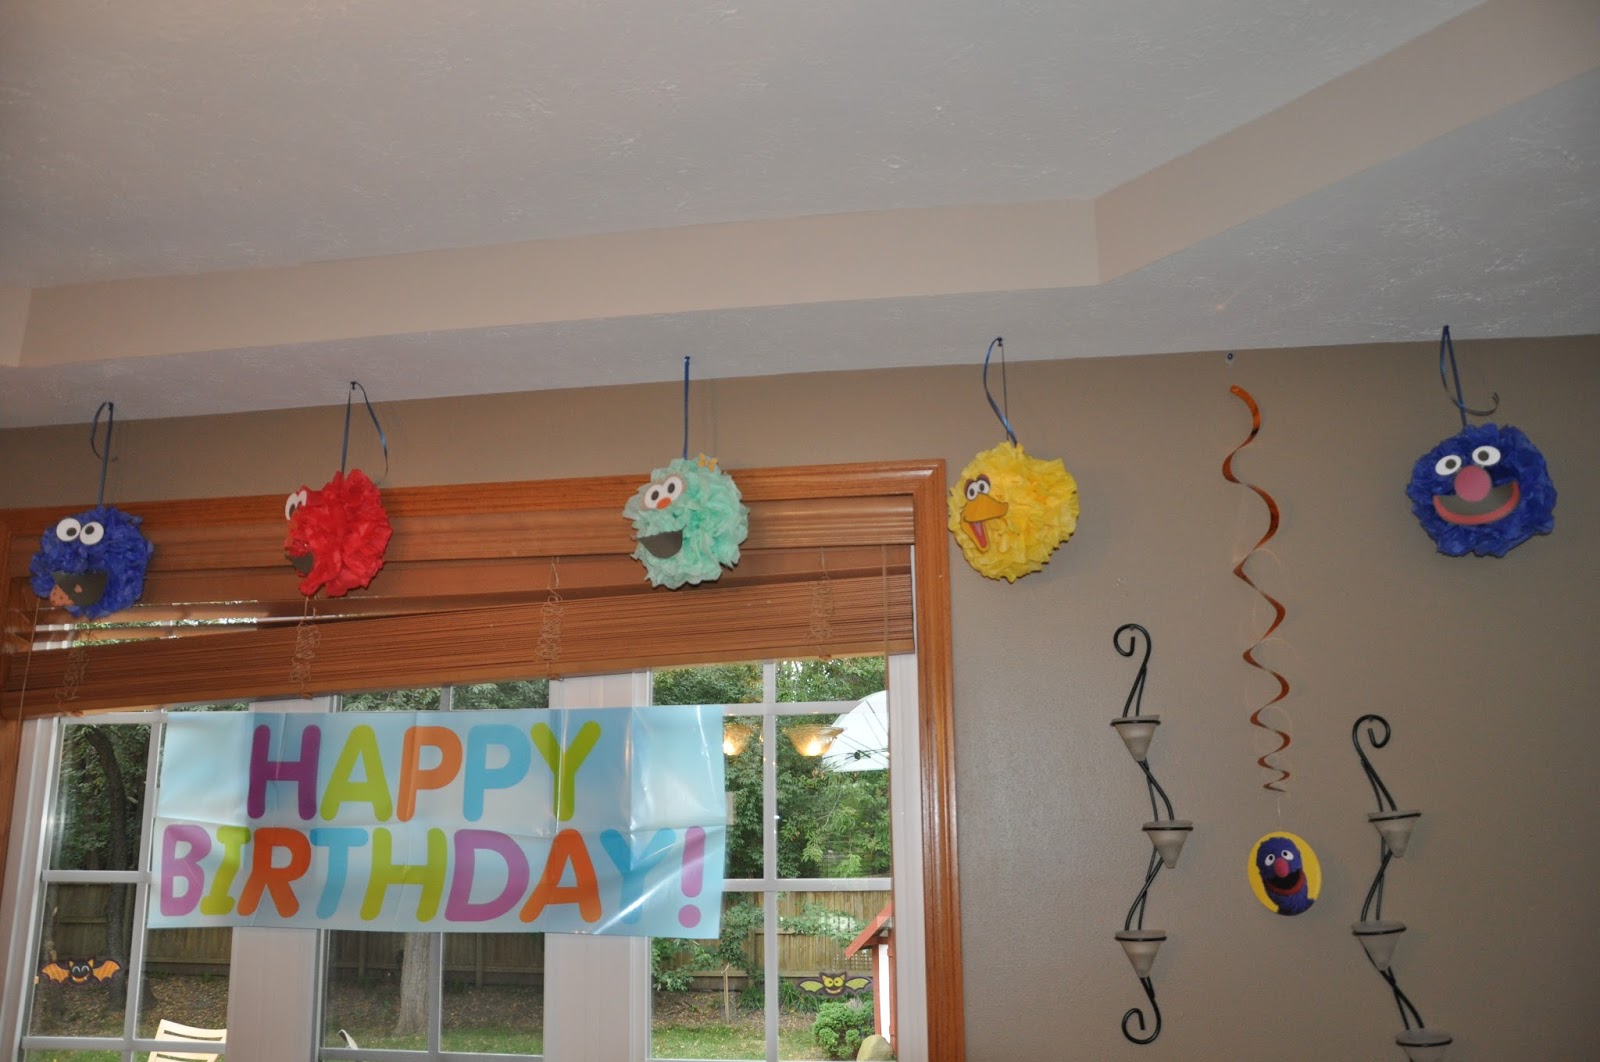
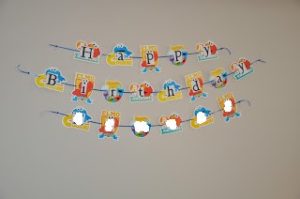 It is no secret that I LOVE the Dollar Tree. I feel that there is something missing in life if I don’t get to walk down the aisles of this glorious store at least once a week. Here, I found some cute Sesame Street bulletin board decorations. I chose to use them to make a banner. I used my Cricut paper-cutting machine to make the words for the banner, and then I glued them onto white paper. Then, I taped those papers on to the different Sesame Street characters. I punched holes in the pictures with a regular hole puncher and fed wrapping paper ribbon through the holes to connect them together. In order to keep the pictures in place, I had to tape the ribbon to the back of the pictures. I used thumb tacks to attach them to the wall above the food table. In the pack of the bulletin board pictures, there were also some small pictures that I spread across the table as a type of confetti to give the table a bit more color and Sesame Street pizzazz.
On the table, I also sat a wreath that I made. I contemplated putting it on the door, but it was a very windy day; I decided against it, because I was afraid it would blow away. 🙂 For the wreath, I bought a green, foam circle in the craft section of my favorite dollar store, which could also be bought at a craft store. I used mostly 1/4 inch ribbon, but some were thicker. It just depended on what I had in my craft stash, since I wasn’t planning on going out and buying any new. I used various colors to represent the different members of Sesame Street, and I found pictures of these characters online, which I printed out on white cardstock paper to make them a bit thicker. I went in the order of the rainbow and just simply wrapped the ribbon around the foam circle. When I was done, I took a pin used for sewing to secure the picture the foam circle. I used the pins that have the colored balls on the end, just because that was what I had. You couldn’t tell that they were there.
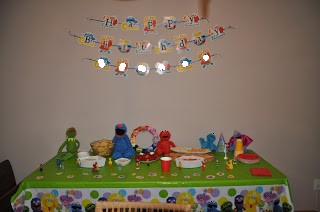
On top of the table, I also used stuffed Sesame Street characters that we already had at our house for decoration. I also used small, plastic figurines that my mom had given to me from her cake-making days. I knew that I wasn’t going to use them for a cake, so I thought the next best thing would be to use them for the table decoration. The tablecloth was from one of those party stores. A friend of mine had a Sesame Street party for her son a few weeks before, but she had some things that didn’t get used. The tablecloth was one of them, which really added a nice touch to the whole scene.
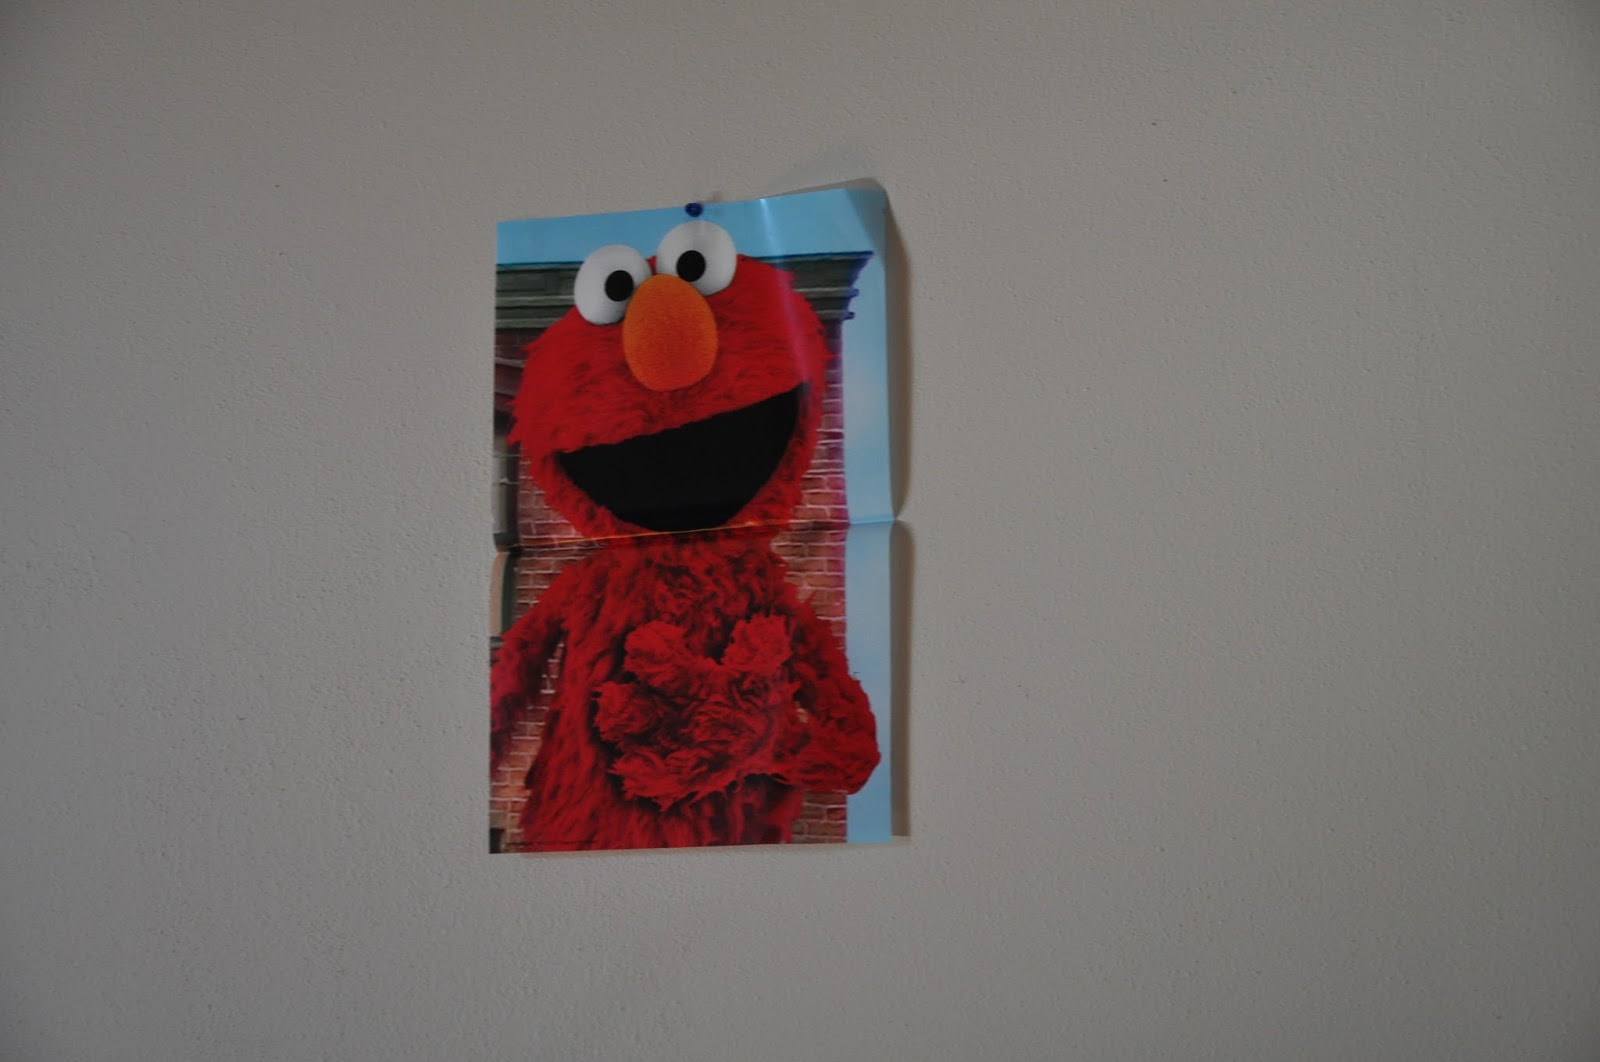
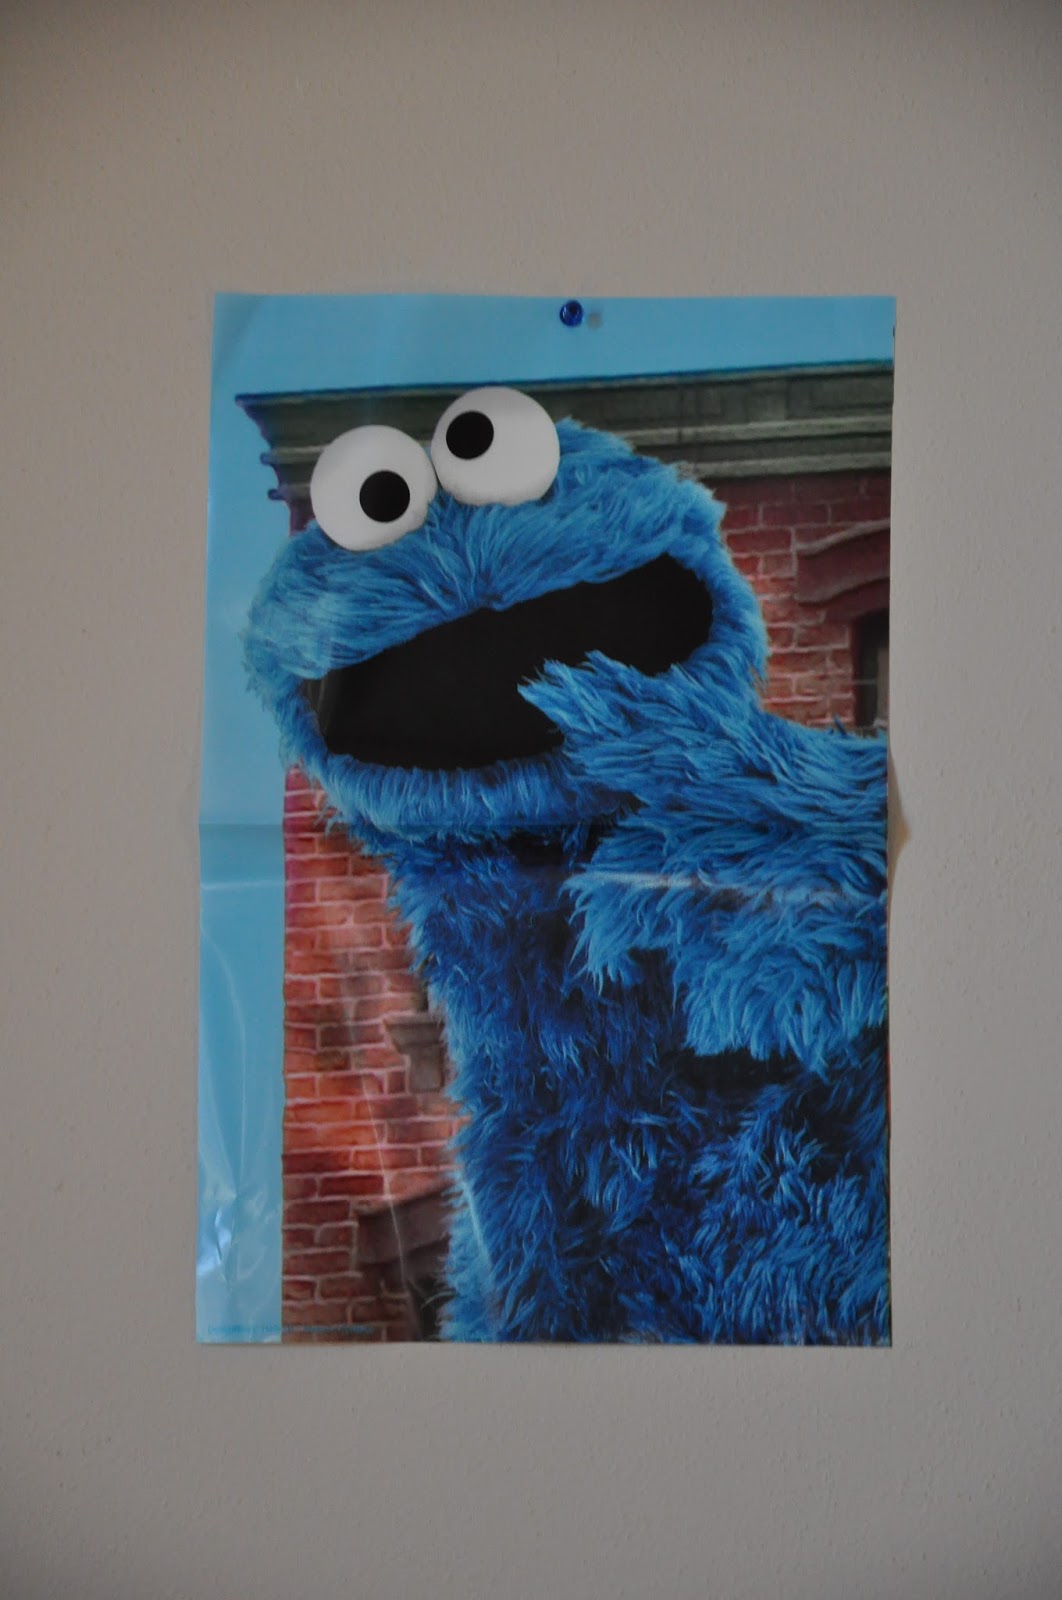
Along with the unused tablecloth, my friend also lent me some plastic pictures for the wall that she also got at one of those party stores. There was a large, wall poster of all the characters from Sesame Street, which took up one whole wall in the party room. There were also smaller pictures. One that said Happy Birthday, and the other two were face shots of Elmo and Cookie Monster.
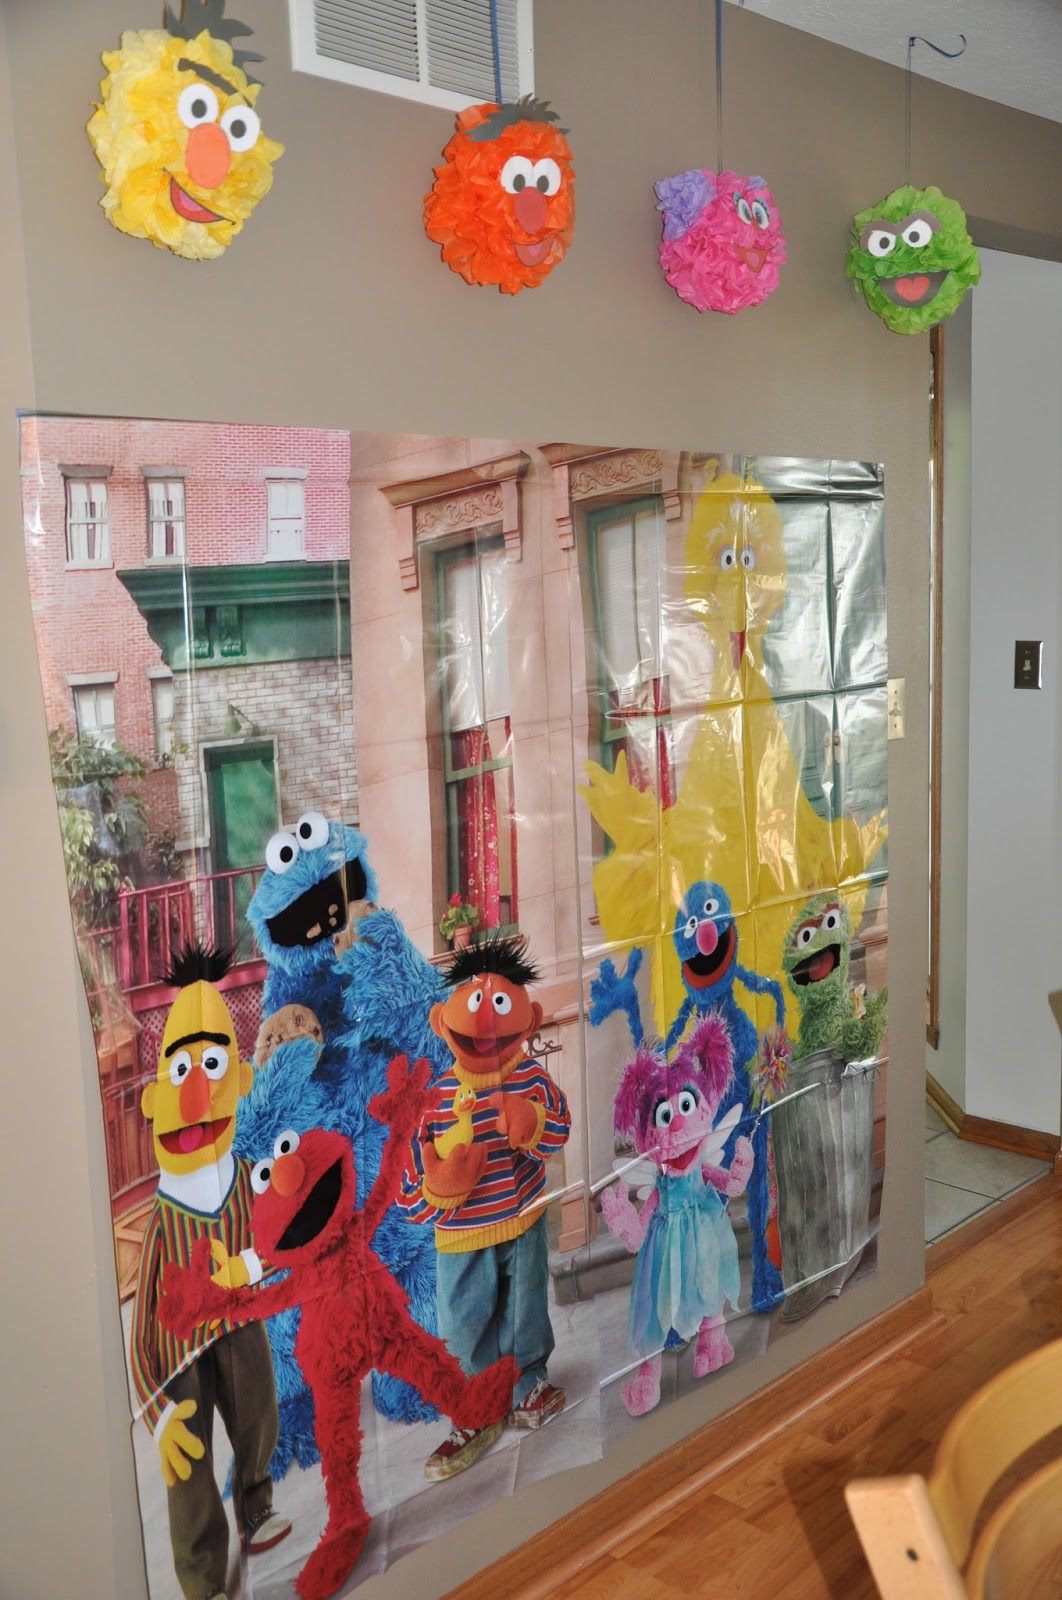
My mom found the swirly, hanging faces at KMart in the party section, so I put a few of those up in various spots around the room.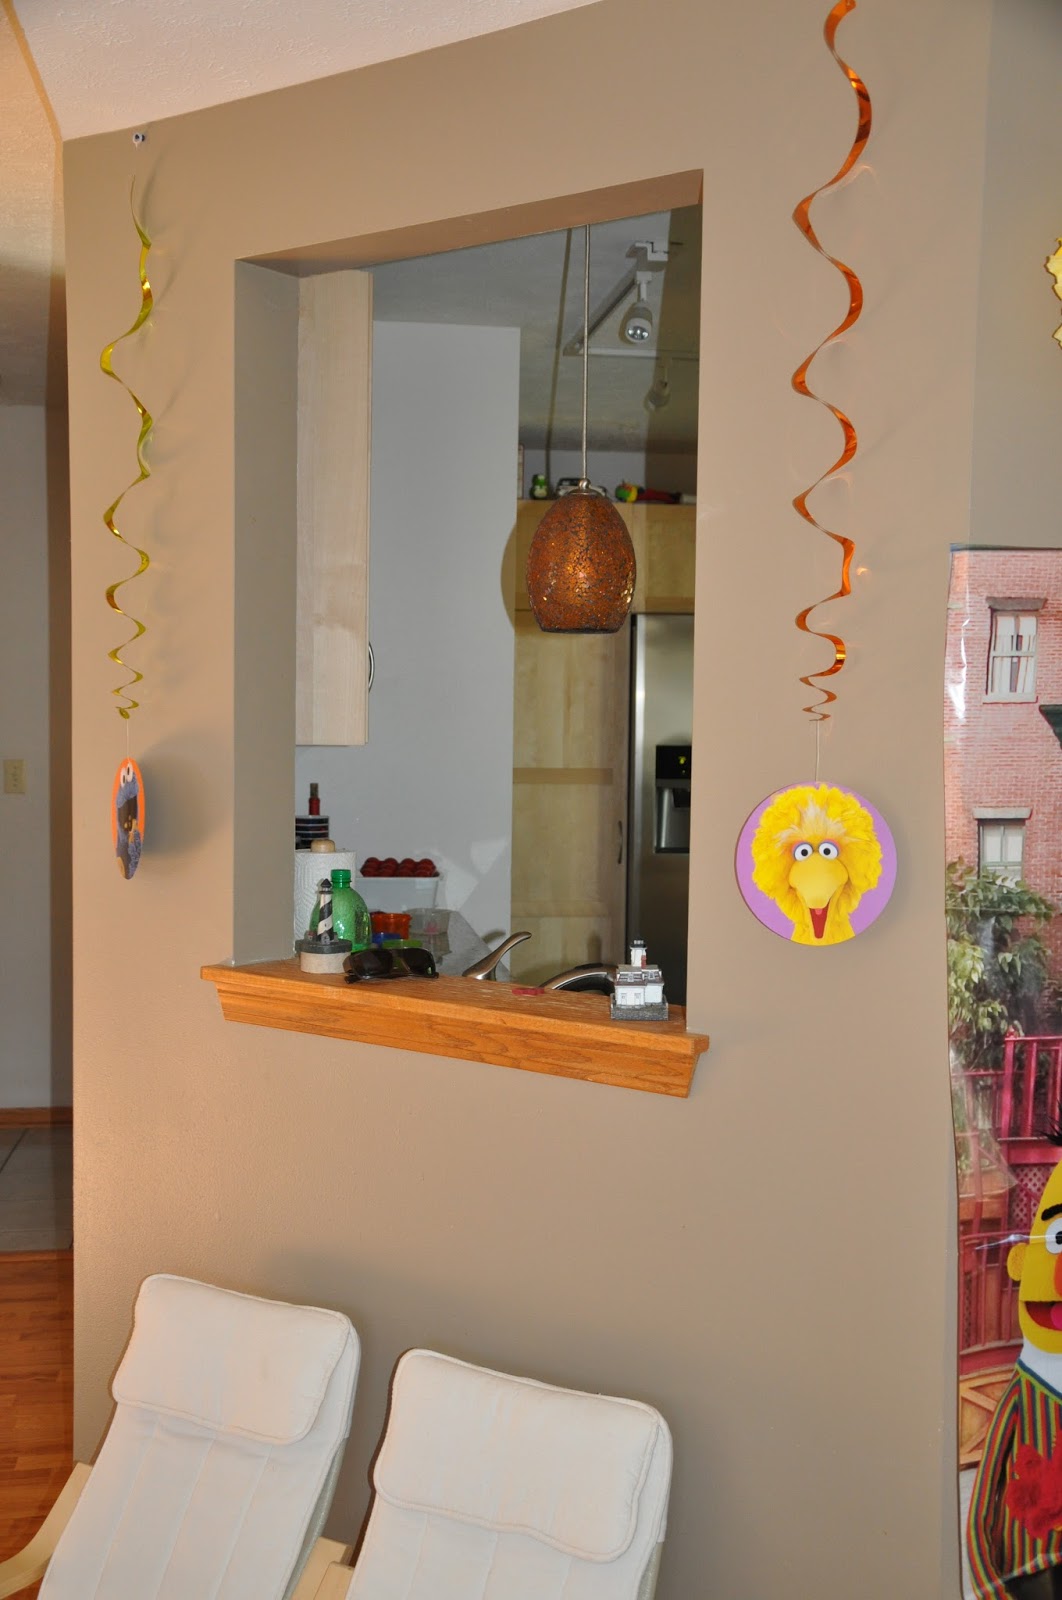
The pièce de résistance of the decorations were the pompom heads that I had made to hang from the wall. I got this idea from Pinterest from the WHOot. I bought the tissue paper at the Dollar Tree and printed the faces off of the internet. All I had to do was assemble, which I did with the help of a Youtube video that I can’t seem to find now, and a little bit of glue. I put paperclips in the center to keep the pompom together and it also helped keep the gift-wrap ribbon in place. I attached the ribbons to the ceiling with push pins. Voila! Those really made the scene a bit more on the “posh” side. Hahah! I have boys, and I’m not the craftiest person out there. I was very excited with myself after making all those. It took some time, so don’t put that part off until the day of the party if you decide to do this for your own party.
That was pretty much the extent of the decorations for the Sesame Street birthday party. In the past, I have made more, but I had also had more people coming to the parties. This time around, we decided to keep it small and just go with the immediate family. That took a lot of stress off of me, since it was a very busy time. We were waiting to hear if my husband got a job overseas, so my mind was a bit preoccupied to say the least. Still, I wanted my little guy to have a nice party.
FOOD
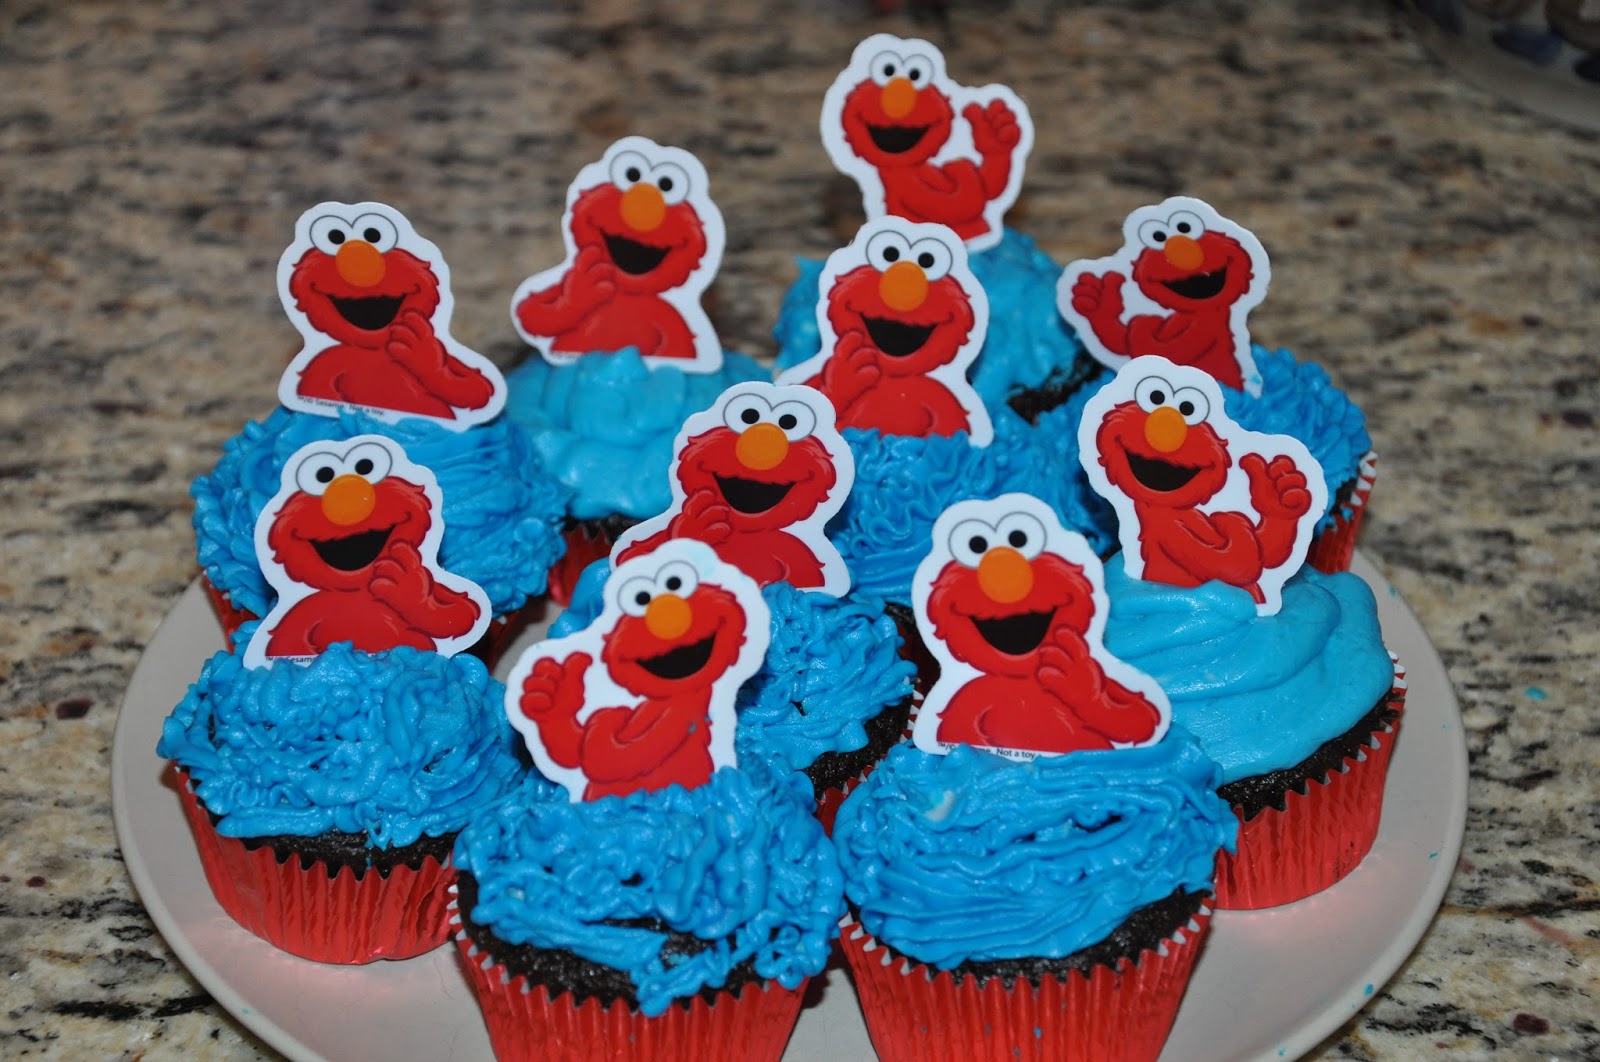
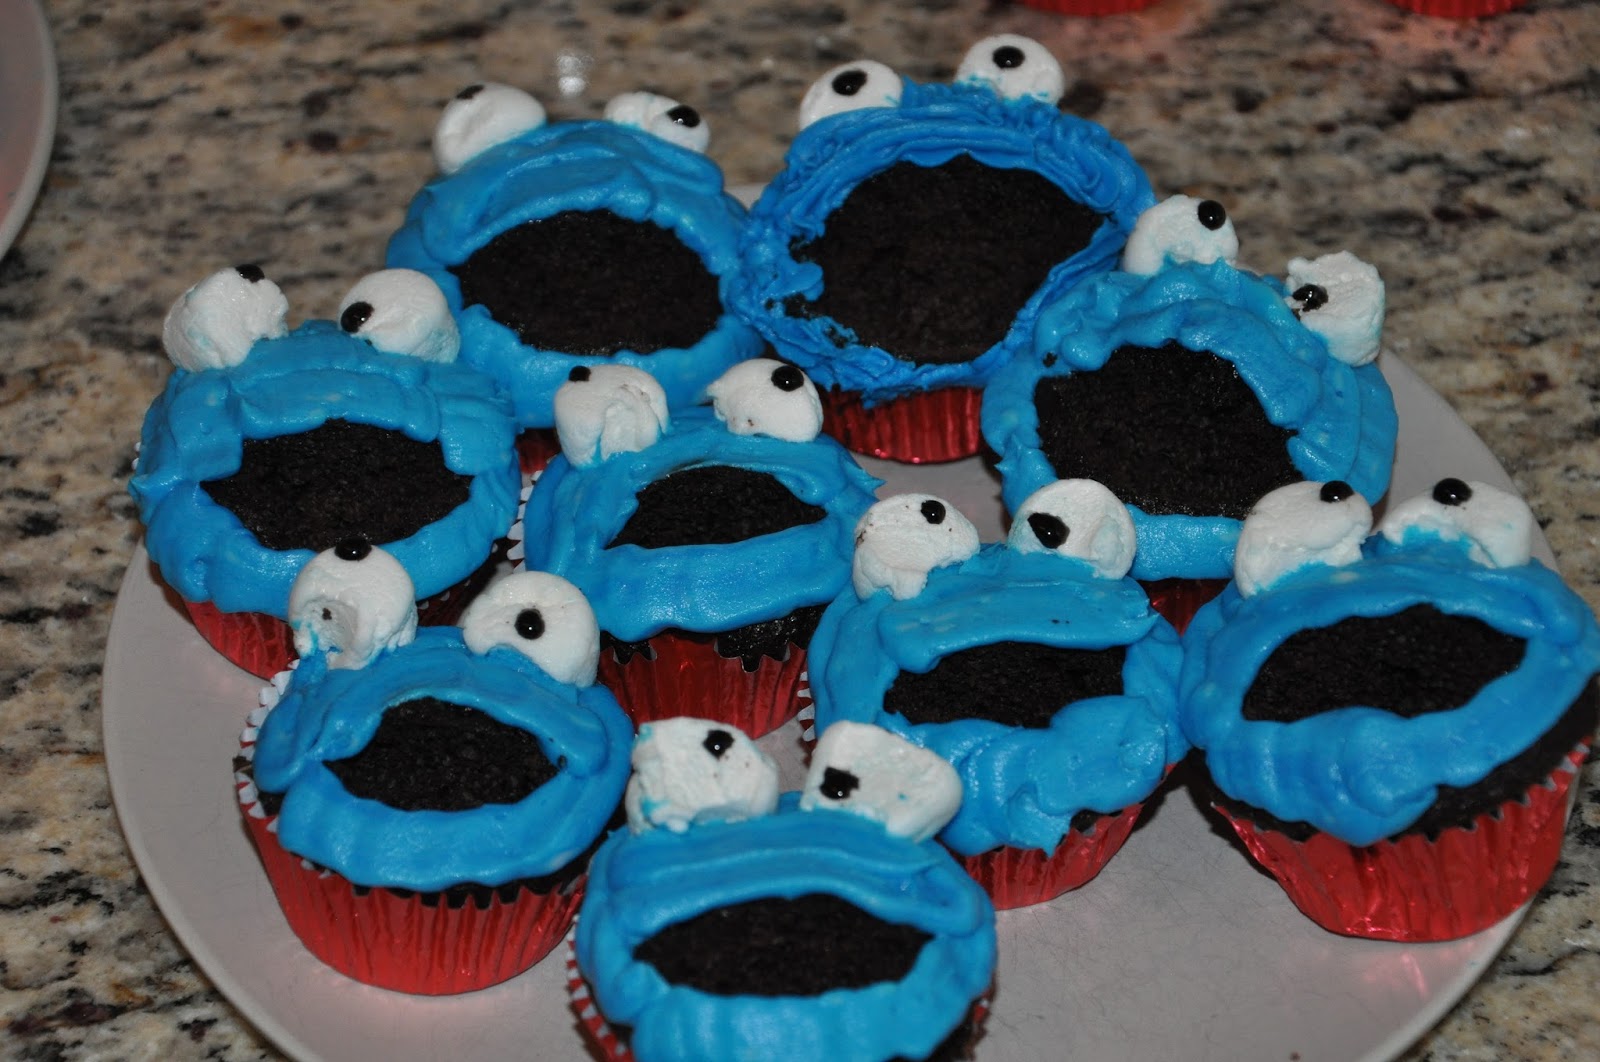
I also got the idea to do cupcakes instead of a cake. Truth be told that I found a Bert and Ernie cake pan at a garage sale over the summer, and I was in love. I was very excited to make that cake for my son. That was the summer, when I wasn’t working. October is always a crazy month for teachers as well as for mothers, if you ask me. There is so much going on with fall stuff, Halloween, and for us, birthdays. We have three in our immediate family in October, which makes things a bit crazy. The thought of having to decorate with all those different icing colors was too much for me to process, so I decided to go with cupcakes. When we were at Sesame Street Place, my kids got meals with Elmo cupcakes as dessert. I also saw the same types of cupcakes on Pinterest, but I choose to make cupcakes with toothpick Elmos that my mom got at KMart and Cookie Monster Face cupcakes. This saved on time because I only needed to make blue icing! 🙂 I used mini marshmallows for the eyes and dotted them with a black icing pen. These are much like the alien cupcakes that I made for my older son’s Toy Story birthday party.
I also make fruit plates much like the ones found at Off Be At Home, but I forgot to take pictures of them. 🙂 I did a red strawberry plate with a carrot nose and marshmallow eyes! 🙂 Again, we had a small party, so I didn’t need to make a lot of food. I loves all the ideas that I found online. There are so many creative mommas out there. I’m happy with how this party turned out, though I didn’t have as much time to prepare.
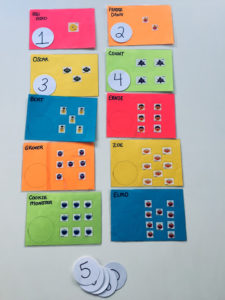
Since there weren’t any little friends, we didn’t have party favors. Overall, my little guy had a great Sesame Street birthday party. I did; however, make a busy bag activity for my son. It is a set of 10 cards with sesame street characters on it and white circles with numbers. The trick is for him to count the faces on the card and place the correct numbered circle on the card. The stickers are from the decoration kit, and here is a picture below:
Thanks for checking out my blog. Subscribe to my blog and get emails about my new posts straight in you inbox. Also, follow me on social media to get some not-seen-in-blog pictures and videos.
Kelly
Hi! I'm Kelly, an American mom and wife to a Dane. After deciding to move to rural Denmark in 2016, I decided to share the highs and lows of expat life in Denmark with lots of fun family experiences and trips in Denmark to make it all a bit more interesting! :) Welcome to My New Danish Life!

You May Also Like:
DIY Toy Story Birthday Party
Thomas the Train Birthday Party: Choo, Choo! Look Who’s Turning Two!