Thomas the Train Birthday Party: Choo, Choo! Look Who’s Turning Two!
It is about time for me to be thinking about my next birthday party, and when I say “my”, I mean a party for someone else! 🙂 I also am aware that it is only July, and the next birthday is in October; but as I said before, I´m just starting to THINK about it! 🙂 This is also a work in process blog, so I am starting it now (July), but I´ll be writing until the party in October! Wish me luck! (Well, you´ll see. Keep reading!) 🙂
My baby is going to be turning 2, and this kid is all about trains these days. Let´s hope that the craze continues until his birthday, because I am planning a Thomas the Train party! 😉 I love doing homemade parties. I know that it is all the scene for people to have the parties at fun places, but I like the craftiness of an at-home party, where I can spend little on the decor and more on things that matter…like party favors! 🙂 I also live my life on a budget and don´t want to go in the poor house. At the same time, I want my kids to remember these days (birthdays) as being extra special.
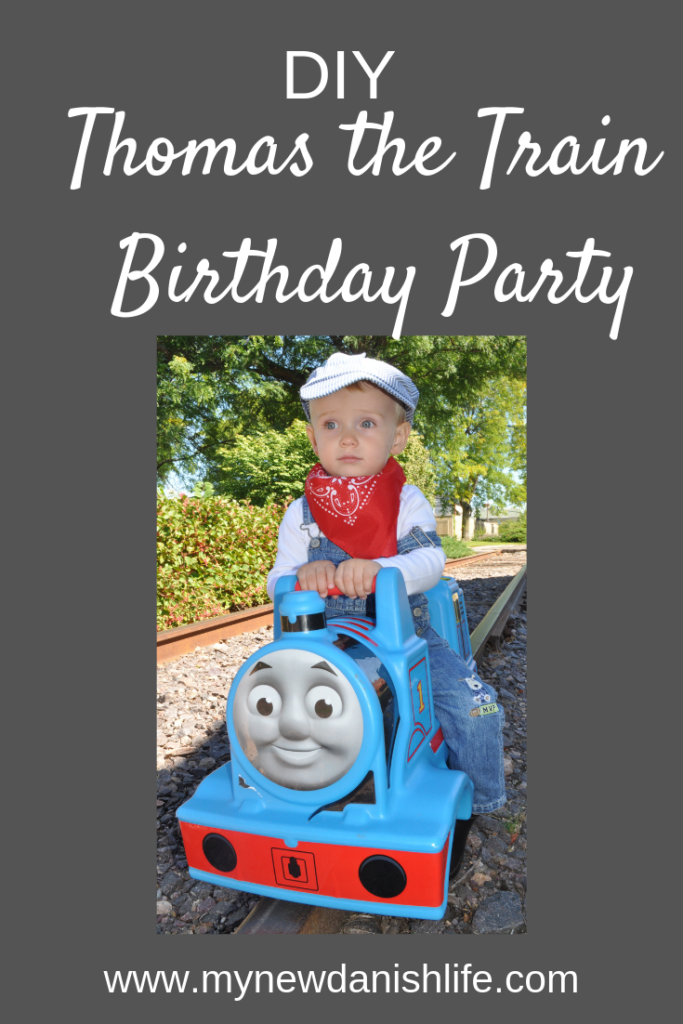
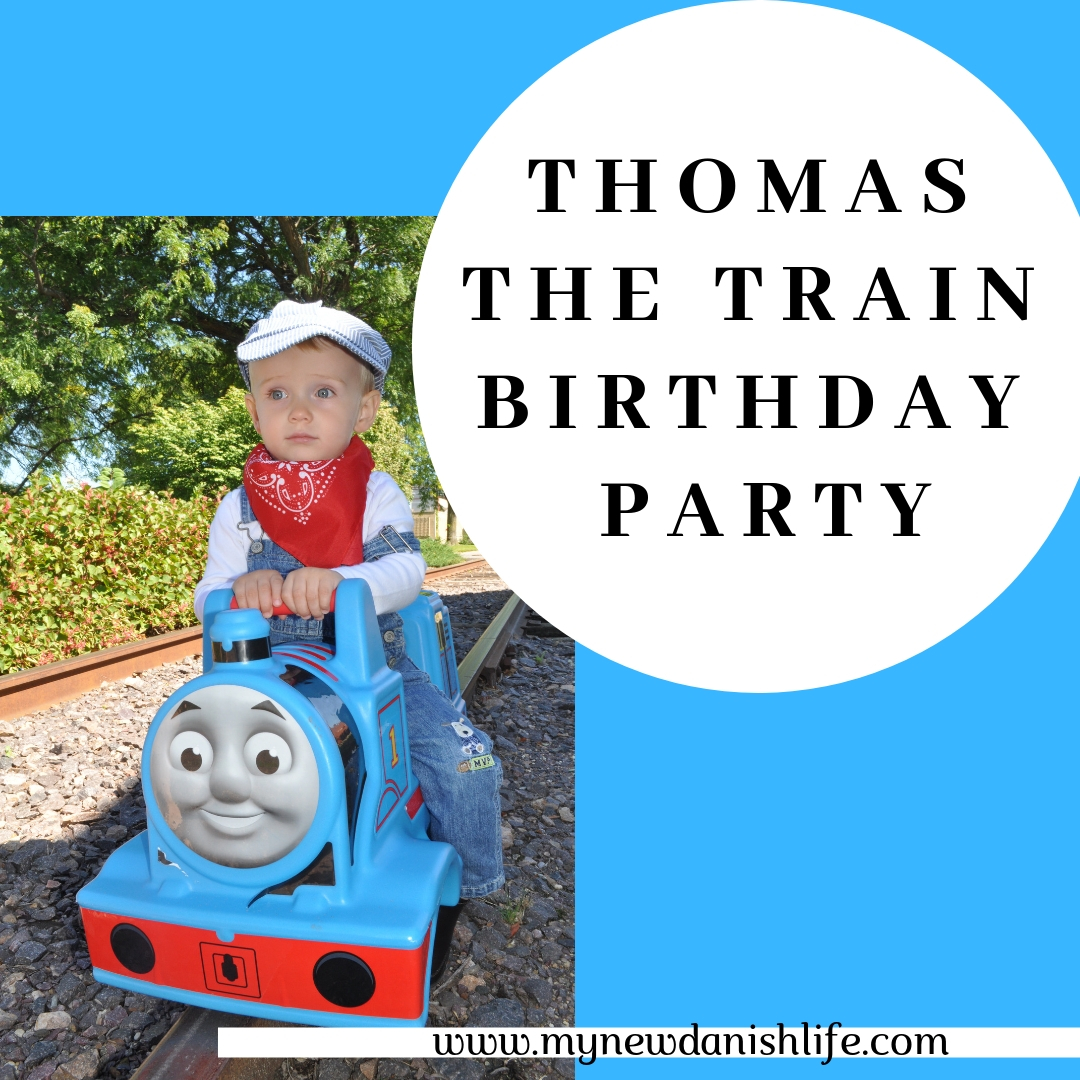
Before the weather started to get colder and darker, we thought that we would dress the little guy up like a train conductor and have his picture taken on the tracks. A friend lent us their ride-on-Thomas to make the photos much more special! 🙂
So like any other mom, I have been searching Pinterest for the best Thomas the Train ideas. Again, I have found plenty of pins where the moms have bought everything on Etsy or even hired a party planner. NO THANK YOU! I get why they do that, but I need to find the homemade goods. I also found lots of pins from AMAZING SUPER MOMS, which I am not. They have made life-size Thomas the Trains out of paint and cardboard and have wonderfully made cakes that look like the Cake Boss must have made. I just know that if I were to try some of those, doing parties would be a thing of the past, because I would get so discouraged from my lack of awesomeness. Nope! I´m looking for cute and fun, but DO-ABLE! I want homemade Thomas the Train party ideas! I got this!
Normally, we have a friend party and a family party. This has never been the case for little brother, since he doesn´t really know what friends are at 1. However, now that he is about to turn 2, he is getting more outgoing, which is why I thought we could try to have a friend party this time. For my older son, we have done cake for the family and cupcakes for the friend party. I want to stick with this, since the cupcakes seem to get eaten much better with the little ones, and who needs all that cake lying around! 🙂 Let´s talk food!
Table of Contents
CAKE
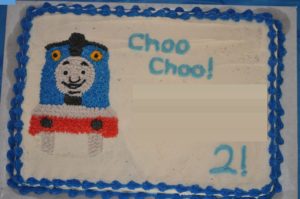
My mom is a wonderful cake maker. She always offers to make the cakes for our parties, which is a lifesaver. She is my rock. She will make a sheet cake and put a basic white frosting coat on it. Then, I will decorate the cake. I found a really cute cake pan online for Thomas the Train, but I didn´t want to shell out the cash for something that would be used once, so I found a picture that looked like the picture on the cake pan. Then I used different colors of frosting to create the picture on the blank white cake. You just need to draw your child’s name in the empty space with icing!
CUPCAKES
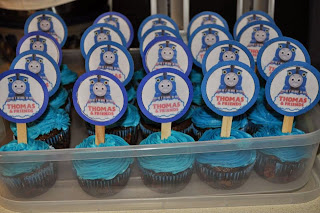
I used regular cake mix to make the cupcakes. I found some cute cupcake toppers at Kookies and Kreme, which I just copied and pasted into Word document and printed. Then, I cut them out and glued them onto blue circles that I cut out with my Cricut machine. I love that thing! 🙂 I glued Popsicle sticks, which I bought (a large box of) at Michael’s craft store, to the back of the blue circles! Voila! :)I found the cupcake liners on Ebay. I also made blue and red homemade frosting. Yummy!
REGULAR FOOD
I like to try to add some healthy alternatives as much as I can, since the cake/cupcakes is enough sugar…if you ask me. I had a variety of snack foods on the food table. I have glass containers, which I put half Oreos on the sides to make them look like train cars. Inside, I had carrots, celery, peppers, Oreos and grapes. I also had two bigger bowls behind the “train cars” that were filled with chips and this new kind of cracker that I saw at the grocery store. They were called “Pasta Chips”. Not bad! 🙂 I also had two small, square bowls for dip and hummus. Since I also decided to spend more of my time making things, I just ordered pizza from the best, local Italian restaurant! We kept the pizza in the kitchen. (The picture doesn’t show the grapes, because I added them later! ahahaha)
INVITATIONS and THANK YOU CARDS
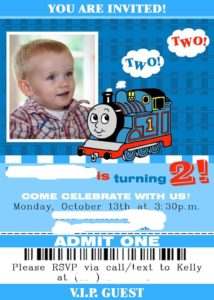
Again, you can go to Etsy and buy really cute stuff, or if you are great on a computer, you could make something cool. I, however, found some nice invitations and thank you cards online for Thomas the Train at Sprout.com. Not to mention that they are FREE! I had every intention of using these invitations, but I have a very talented friend, who offered to make my invitations on PhotoShop. I LOVE HER!!! They turned out great! 🙂
FOOD TABLE DECOR
I had a leftover piece of foam board from one of my sewing projects, so I decided to use this as a sign for the food table. I cut out the words “Chew! Chew!” in a 4″ font with my Cricut machine and glued them to the foam poster board. I also cut out the words “Chugga Chugga”, but I had to use a smaller font size to make sure that they would fit properly on the board. I believe it was a 3″ font. For both, I used blue paper that I bought at Michaels (craft/stationary store) in a pack of 12″by12″ multicolored paper, and I used the Classic Font cartridge. I also printed off some extra cupcake topper images to decorate this board. I didn’t want this sign to be covered up by the food, so I punched two holes in the top and hung it by ribbon from two of the thumb tacks that was used to hold up the backdrop.
Also, I found a super cute tutorial for making a (recycled) Thomas out of food boxes and canisters at PBS.org. I altered the sizes just a bit by using a small cereal box for the (red) base of the train and a cracker box for the (blue) back of the train. I also didn’t use an oatmeal canister. Instead, I had a tube from a large photo print that I ordered off the internet, which was narrower than an oatmeal can and worked just perfectly with the other boxes. I had a hard time printing the image of the number one and the image of Thomas’ face. I ended up finding a different downloadable face from Kevin’s Brain, which is a site that shows you how to make your own Thomas the Train Halloween costume (Totally Awesome!). I had to shrink it to fit the tube I used, but that wasn’t hard. (I also used this template to make the faces on the “dress up boxes”.) I didn’t want the train to take up most of the table, so the size adjustment really worked in my favor. It was really easy to make, too.I just love homemade Thomas the Train party ideas!
I used square, glass vases for the silverware, and used cheap tablecloths from the dollar store in red, green and blue for the tables. I also find some cute road signs for the food table on Pinterest. The problem with those, though, was that I couldn’t find the original site to download the images, so I had to improvise with the “Paint” program on my computer. Then, I printed it on white cardstock. We have a red tablecloth made of cloth in our seasonal cupboard, so I decided to use that at a backdrop for the food table. I put it up with thumb tacks. (Gotta love drywall walls in the USA. If you are trying to do this party in Denmark, you might have to get creative on how to hang all this. There are mostly brick walls there.) I also attached balloons by ribbon to the thumb tacks on each corner of the backdrop. I also hung other balloons at the end of the crate paper streamers that I put up over the tables. Since we needed space for 24 little kids, I used 3 large tables and put a Thomas and Friends centerpiece on each, which I bought in a three pack from Party City. On the cloth tablecloth, I used painter’s tap to hang up part of the “Giant Scene Setter Wall Decorating Kit” that I bought at Party City.
The opposite wall from the food table had the (neither 5′) picture of Thomas and Percy, which was bought at Party City. I used red and yellow streamers to decorate the wall and blew up balloons for the chandelier. I bought a “happy birthday” banner at the dollar store that I also used to decorate the party room.
also decorated the birthday boy’s highchair with another banner that I bought at the dollar store. This one was all plastic and didn’t say happy birthday on it. I think I originally bought it for a banner for our garage sale, but I never used it. I had a few extra moments before the guests arrived, so I thought, “what the heck. Let’s add one more thing to the list!” 🙂
OUTSIDE DECOR
We used painter’s tape to make lines on the sidewalk that looked like train tracks. I also used my Cricut again to create a sign that said ALL ABOARD, which we hung on the front door! 🙂 I also made two train crossing signs for the front yard. I got the idea on Pinterest from a couple of different places. If you just put the words “train party” into the search engine, you will find tons. The ones online were much nicer than what I did, but I’m not that crafty. I can live with that! 🙂 I ended up using the left over pieces of boxes (from the dress-up boxes)to make the white, railroad crossing sign. I went on to Microsoft Word and typed up the words RAILROAD and CROSSING. I printed them out and glued them done. I had to do this twice, since I made two signs. I thought to use my Cricut again, but this was in the 11th hour. I just wanted it done! 🙂 I also made a couple extra strips from the box leftovers and glued black, construction paper on them. After that, I glued small, red dessert plates to the ends. I had the stakes for the ground in my garden stash already, as well as the construction paper and small plates, so I didn’t need to buy anything for this project.
PARTY FAVORS
It is no secret that I LOVE doing party favors. I found some really cute things at Oriental Trading Co. that I decided to get for the friend party. I ended up getting each child an engineer’s hat, red handkerchief and a wooden train whistle. 🙂 I also bought a bunch of stickers through them as well, but I decided to keep the stickers separate from the other favors. I also had coupons for Thomas the Train fruit snacks, so I bought some of those as well. I decided to keep the hats, whistles and bandannas separate from the stickers and fruit snacks. I put the first three in the box they came in, but I printed off a sign from Microsoft Word that said “Baggage Claim”.
ACTIVITIES
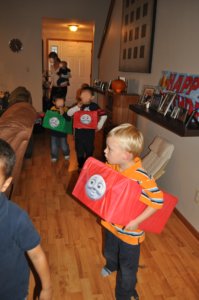
Dress-Up Boxes: I saw on Pinterest that some people made little trains out of boxes and cheap tablecloths, so I thought I would give it a try. I took some empty paper boxes that were in the garbage pile at my school and covered them in cheap tablecloths that I bought at a local dollar store. I used the face template that I found for the alternative for the cereal box/oatmeal canister trains (see above section on food décor). Though all the faces were Thomas’, I didn’t think the kids would care too much! 🙂 I combined the ideas that I got from Catch My Party and Little Miss Kate and Co. to come up with the idea for these little trains. I didn’t go crazy with the artistic elements, since that is NOT my forte, but I think that they turned out nice. 🙂 My goal was to use these as a game, so the kids could race in the backyard. Since it rained on the day of the party, we had an indoor choo choo parade instead! 🙂
I also bought a “Pin the Smoke Stack on Thomas” game from Party City. It came with 12 smoke stacks, which I copied on my  scanner/printer, since we needed 24 for all the kids at the party. (Yes, 24 is an INSANE number.) I made sure to hang this low on the wall, which as somewhat next to the large Thomas and Percy picture. I wanted my little guy (and his friends) to be able to reach it with ease! 🙂
Have you done any homemade birthday parties for your children? What interesting things have you made?
Find other party ideas in the craft category of this blog and be sure to become a subscriber! 🙂
Pin it and Save for Later
