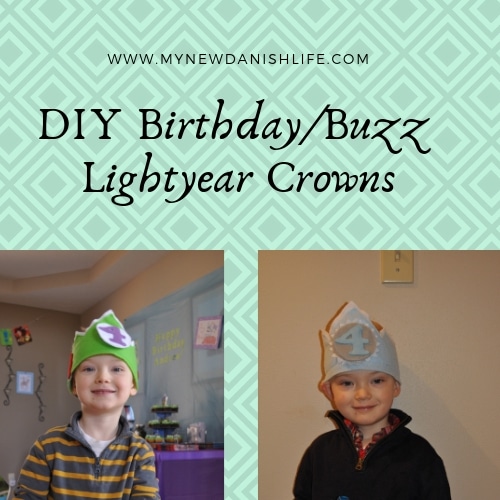
DIY Birthday/ Buzz Lightyear Crowns
During my quest for all things Buzz Lightyear, I found a really cute birthday crown idea at Cutesy Crafts. She wanted people to buy the pattern online, but I just based what I made off of the picture. I kept looking on Pinterest for more Toy Story ideas for the birthday party, and I also came across a picture from Etsy of a Buzz Lightyear crown which was made by The Lazy Owl. I make both crowns with this tutorial, but when I mention “she” or “her blog”, I am referring to the post on the Cutesy Crafts site.

STEP ONE: (Blue Crown) She mentioned that her crown was 5″ wide, so I first cut a piece of wax paper that was 5″ by 24″. I then “eye-balled” it when cutting the design. It turned out okay! 🙂 I used this template with white and light blue felt. The felt was what I had from a leftover project, and it was blue for boy. Yippie! 🙂 Works for me! I pinned the template to each piece separately and cut. I didn’t trace this template. After they were cut out, I placed the colorful felt piece onto of the white felt piece, but left the white showing. I would eventually sew them together like this.
**(Buzz Crown) I did the same pinning and cutting, but I chose a lime green felt and white felt.**
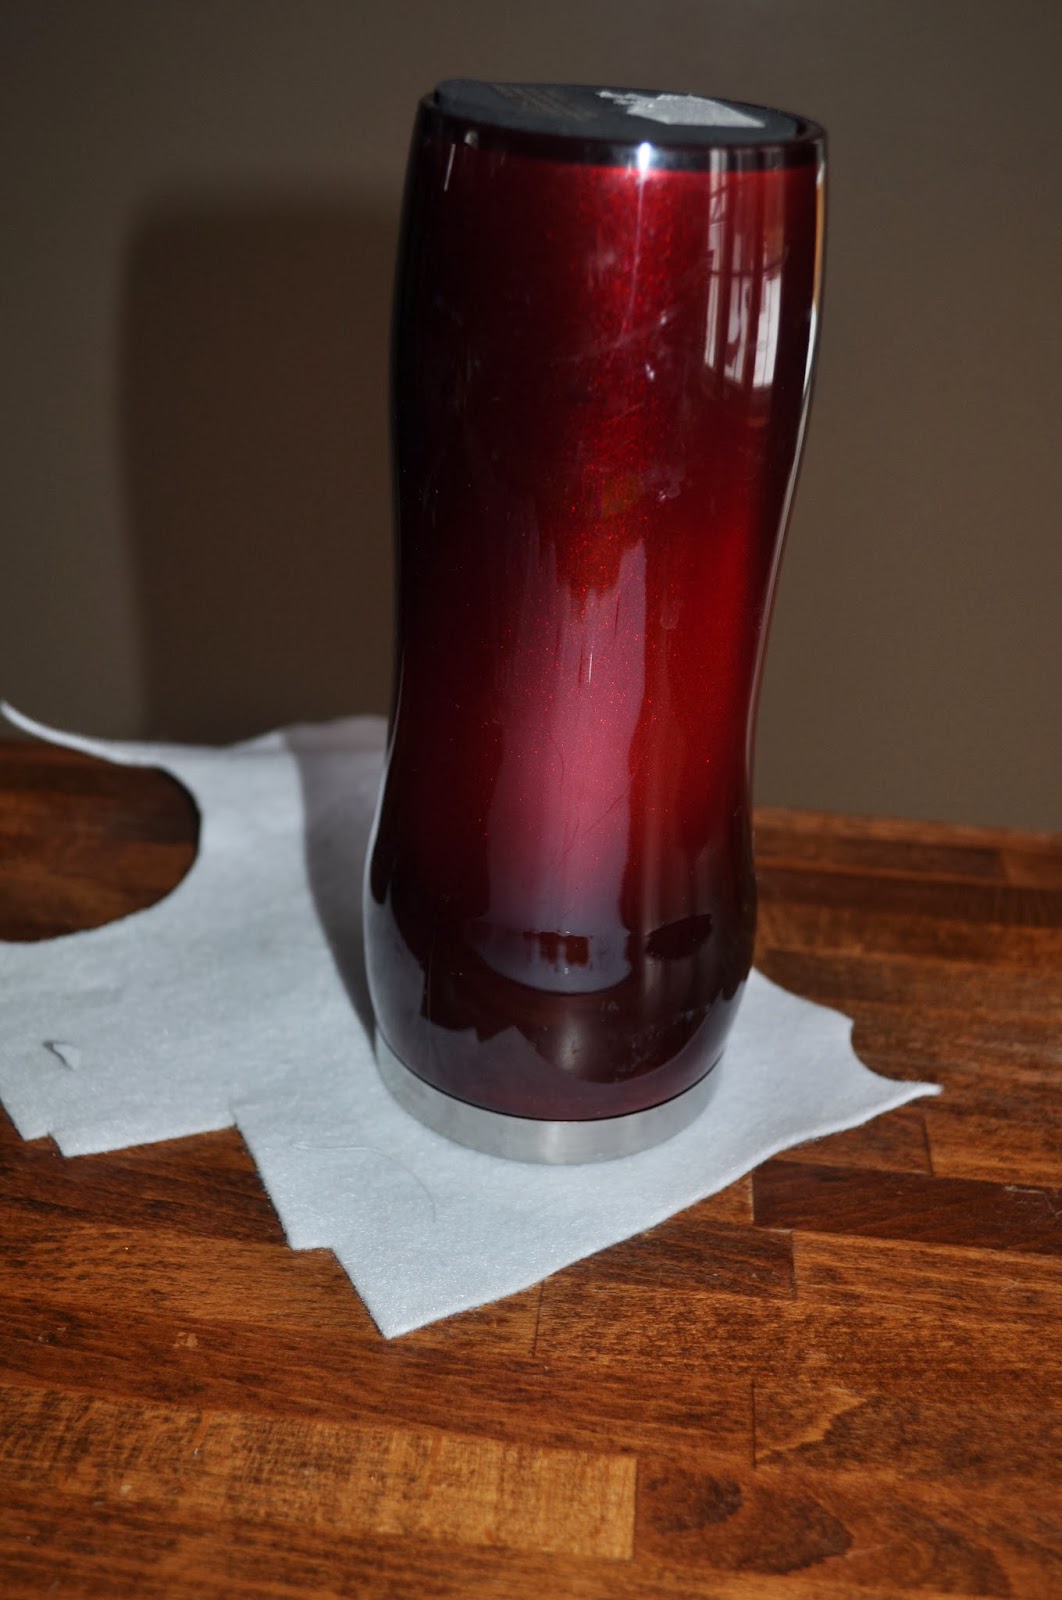
STEP TWO: I used an insulated coffee mug to trace a large circle on a piece of wax paper to make a template. I just found something around the house that would fit nicely into the space at the center of the crown. You could also trace this onto felt; it was the perfect size. I ended up making two grey circles for the blue crown.**If you are making the Buzz crown, cut two of these in white.**
STEP THREE: Then, I put the circle template down on a piece of paper and traced. After that, I made a zig zag design around the circle to make it resemble the blue crown’s white center circle. It also looks like a sun. After cutting this out, I traced it on to white felt and cut it out. **I didn’t do this for the Buzz crown.**
 STEP FOUR: Next, I cut out a number 4 with my Cricut paper cutting machine. I used the Cricut Classic Font and chose “chunky” for the setting. I also made the number 2 1/2″. It fit perfectly within the circle, so I flipped it over and traced it first onto (Blue Crown) light blue felt and then onto (Buzz Crown) purple felt. I cut them out and laid them on top of the circles.
STEP FOUR and a HALF: **I only did this for the Buzz Crown. I took a baby spoon, because it had the right shape and traced the handle onto red, purple and dark green felt for the “buttons” on Buzz’s spacesuit. I also took a quarter and traced it onto red felt for the “other button” on Buzz’s spacesuit.


Here are the two crowns before sewing, before Velcro, before being done.

I continued to follow Cutesy Crafts’ instructions for what she did and voila! We were ready for a party! I continued to make these for other people, but instead of putting a number in the center, I stitched the first initial of the child’s name.

Be sure to subscribe to my blog for updates on new posts and subscribe to my Youtube channel for new sewing tutorials and other videos.
Kelly
Hi! I'm Kelly, an American mom and wife to a Dane. After deciding to move to rural Denmark in 2016, I decided to share the highs and lows of expat life in Denmark with lots of fun family experiences and trips in Denmark to make it all a bit more interesting! :) Welcome to My New Danish Life!


One Comment
Pingback: