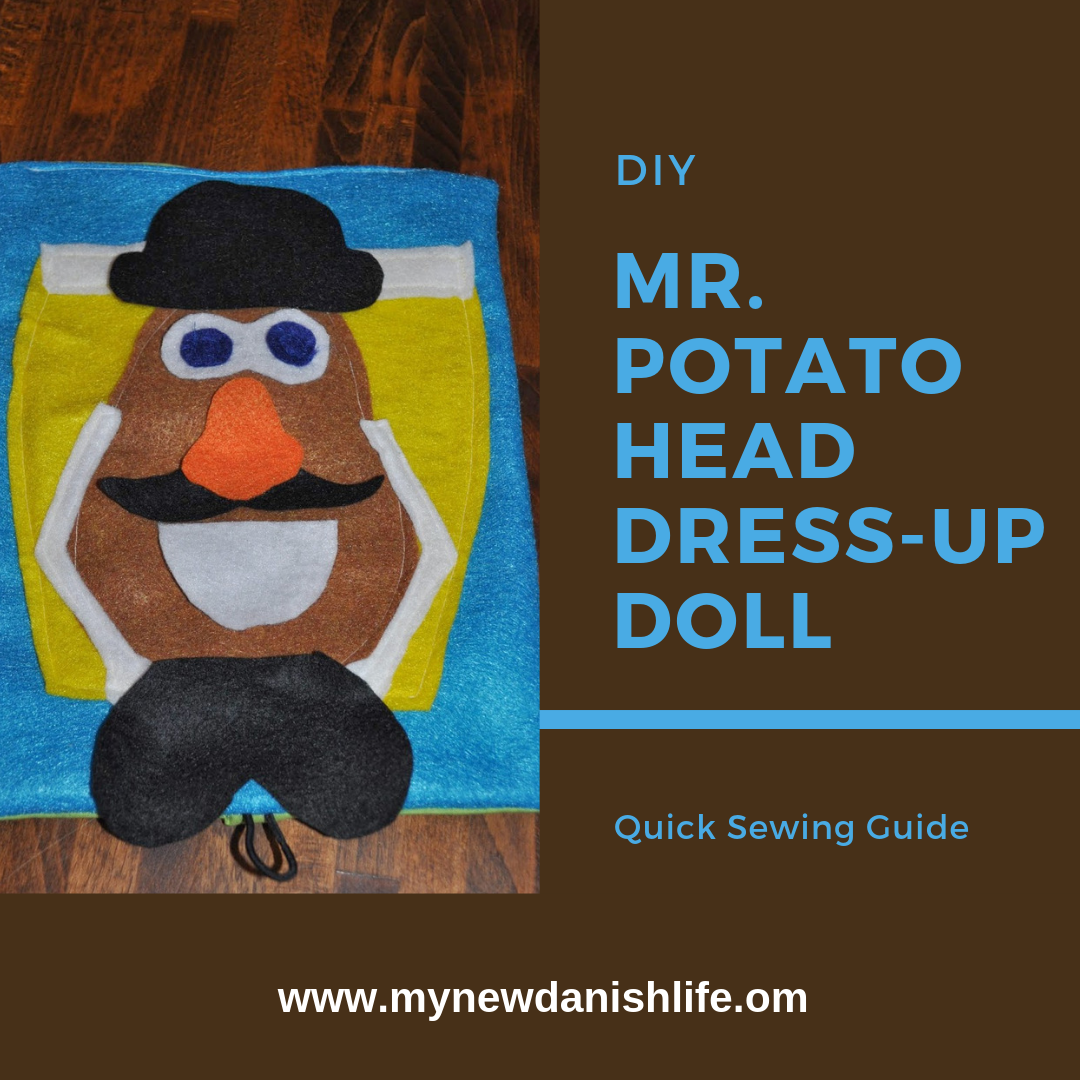
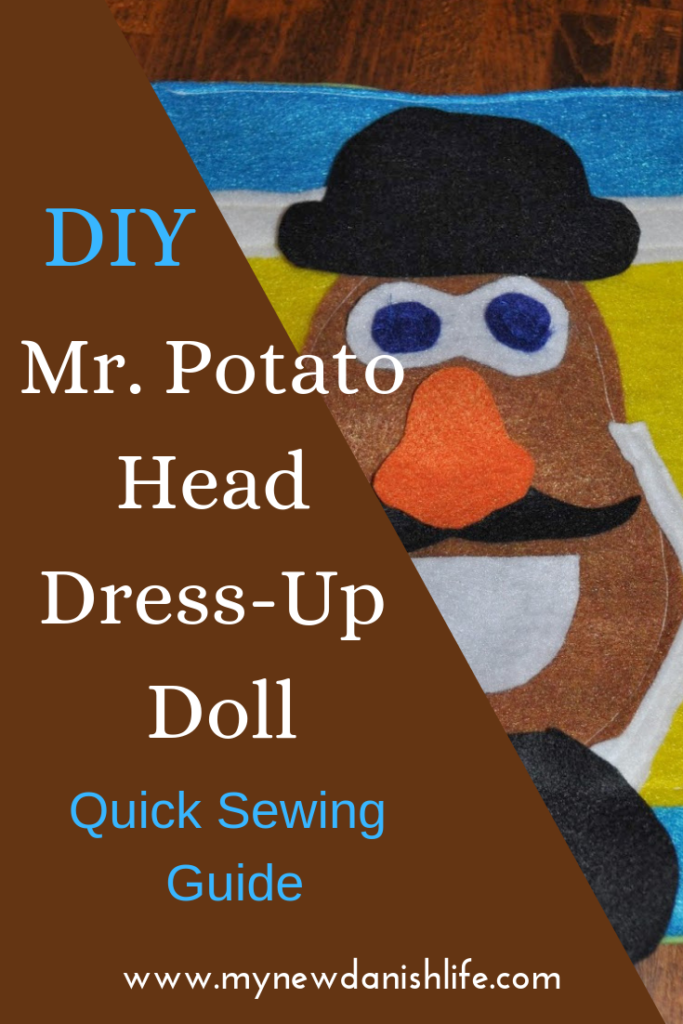
Mr. Potato Head Dress-up Doll, Beginner Sewing Guide
For the party favor bags for my son’s 4th birthday, I decided to make a Mr. Potato Head dress-up doll that you could take with you easily in a purse or diaper bag. I found the idea originally from JocelynandJason when I was looking for quiet book ideas. (see my earlier posts for my quiet book)
This post may contain affiliated links, which means, at no additional cost to you, I will make a commission if you click a link and make a purchase.
I always thought about doing something with the Mr. Potato Head page, but I never did, because I already had a dress-up doll page. When my mom’s group was doing a busy bag exchange, I was too busy with work to have the time to make these, but the thought stayed in my mind. When I started planning the Toy Story birthday party (see Toy Story Birthday Party post), I thought that this might be the perfect time to make these.
Mr. Potato Head Quick Sewing Guide
I used the template from Jocelyn’s site for all of the items (except for the ears and earrings…I just ran out of time).
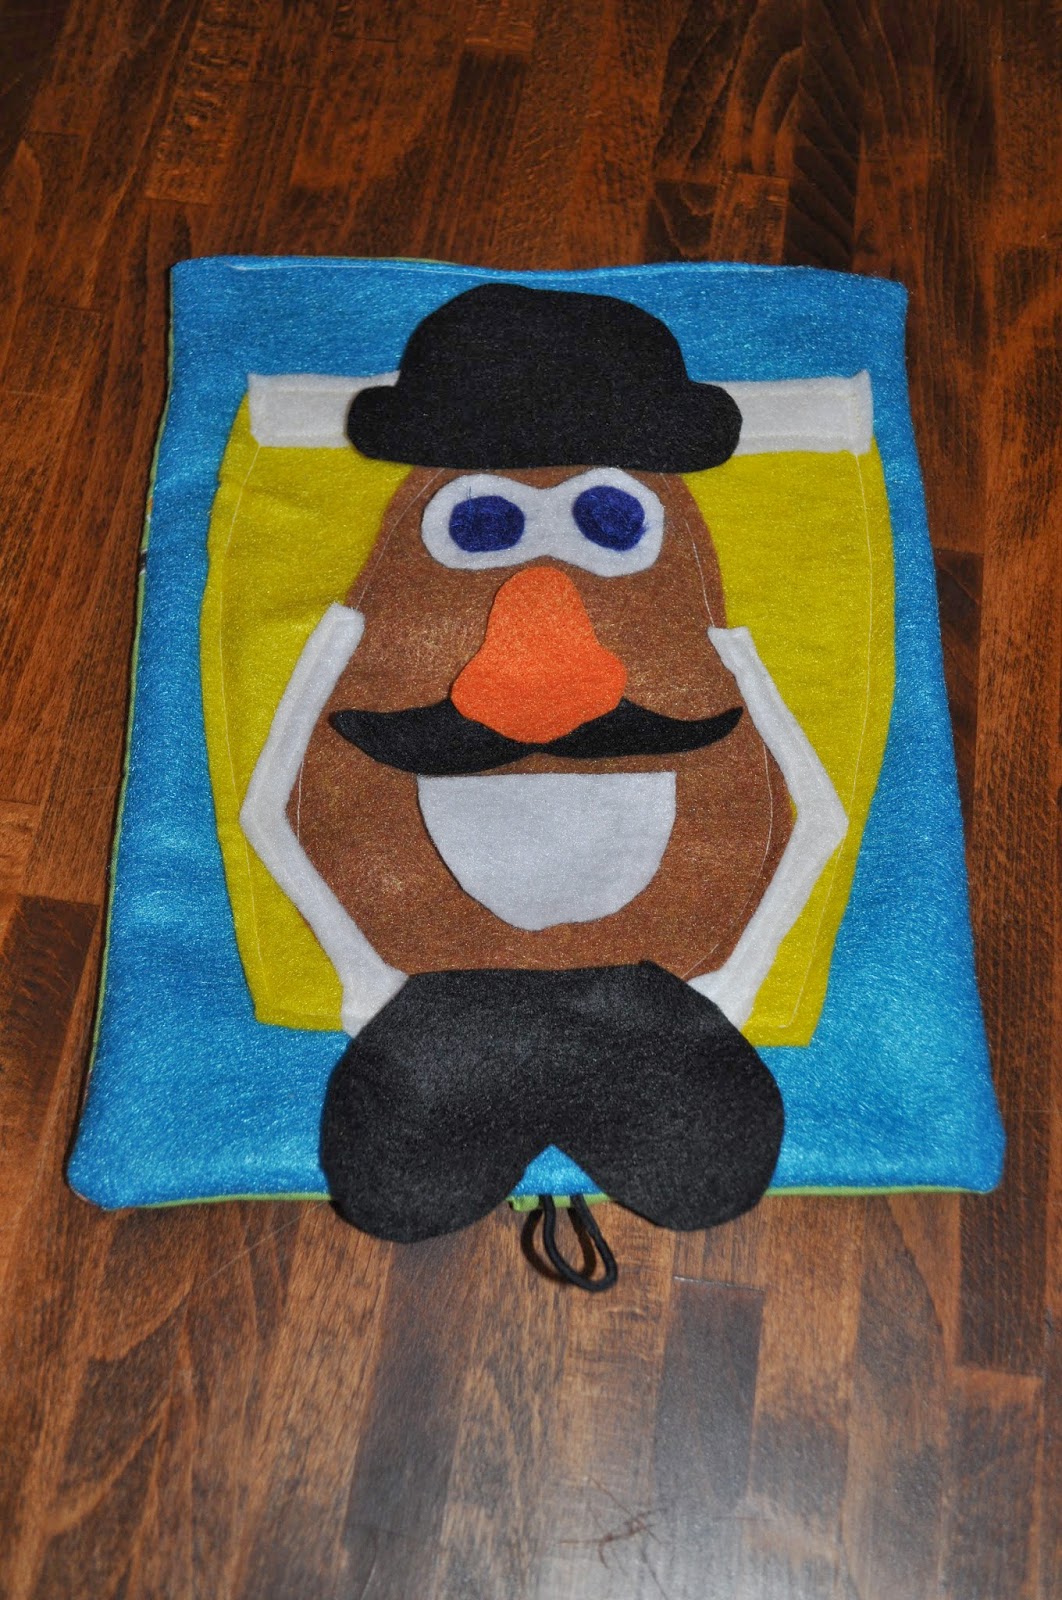
I have to admit that I had to add a few things in order to make it “travel” friendly. I traced a piece of regular printing paper for the background felt, which was turquoise. I also cut a piece of the Toy Story fabric this size (roughly 8 1/2″ by 11″).
I sewed the strip on the pot and then the potato (and then arms) on the pot. Then, I sewed the pot onto the turquoise background making sure not to sew it along the top line. This is where I needed it open to put all of the body pieces.
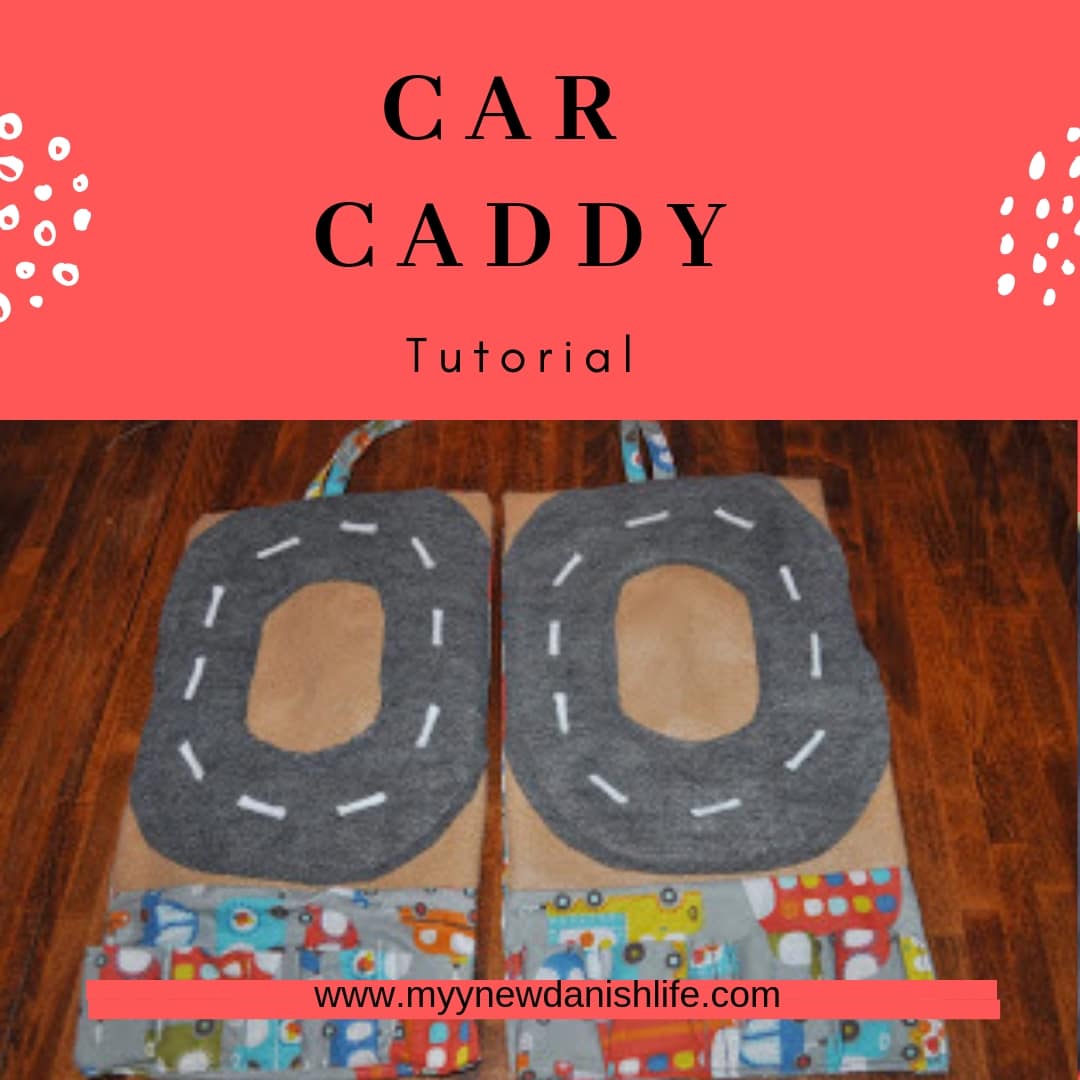
See another easy, sewing tutorial that is great for the kids: Car Caddy Felt Travel Toy.
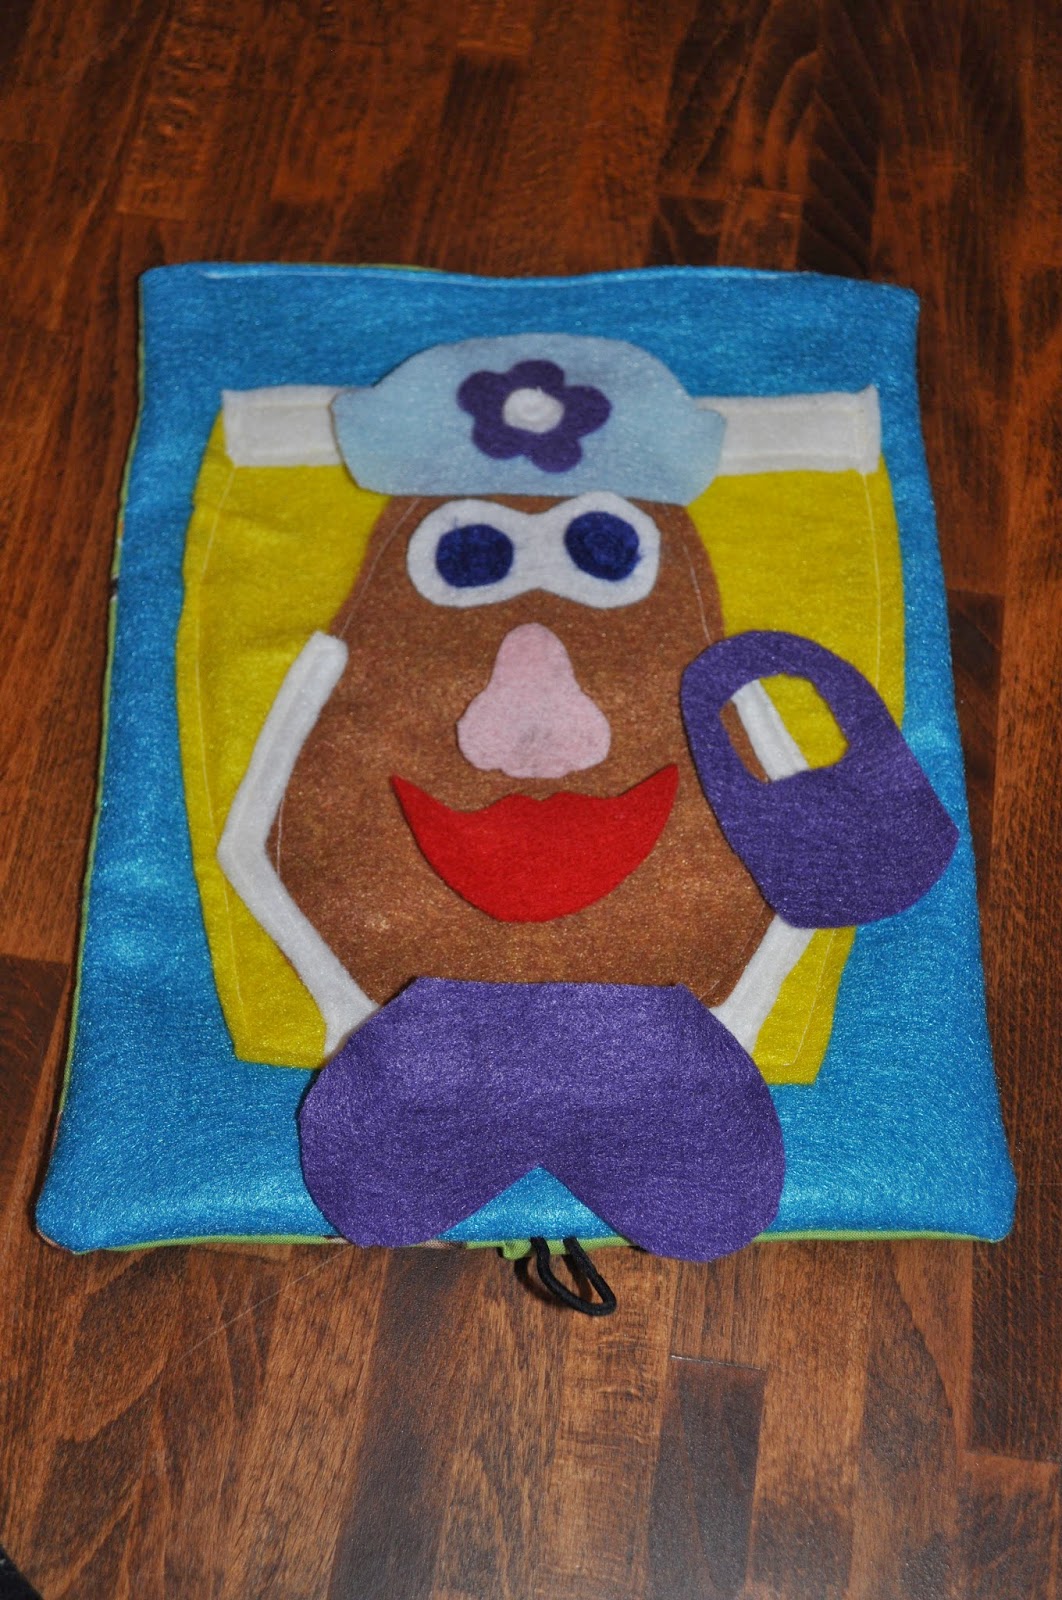
I kept working with the felt and cut out all of the shapes that were with the template for the body pieces. I didn’t double up the felt like she said to on her blog, because that would have taken too long. (I had 19 of them to make. 18 for kids at the party, 1 for my kid. I made the babies from the party princess crowns. There was a baby going to the family party. That makes 21 kids! I didn’t even count my nieces and nephews, but since they are 8-13, they didn’t get these favors.)
Finishing Touches
Once the felt part was done, I sewed on the button. I put the Toy Story piece on top of the felt piece and folded it twice, like I would a letter going into an envelop. This would give me a good idea of where to put the button for closing it up. I bought the buttons at Walmart, by the way. That is also where I found the fabric. I had a hard time before finding Toy Story fabric, so I went there.
Believe it or not, I had to go to 2 Walmarts, because they each only had about 1 yard of fabric a piece. I needed a little less than 2 yards to make 24 of these, which was a good “just in case” number in case more kids RSVPed “yes” later on.
Learn how to make a Crayon Roll with this easy, sewing tutorial for kids.
The buttons came in 6 packs, so I bought 4 of them. I tried to keep with the blue and green theme, and luckily, they had just blue and green buttons. They were also a cheap plastic, so I thought that they would be lightweight and fit the purpose. I have to admit here that I am not an expert sewer, so if I can make these with limited sewing skills, anyone can. I had to sew all of these by hand, because I couldn’t get my machine to do it.
Could my machine do it? I’m not sure, but I tried, and I just gave up in the end. To be honest, I haven’t kept a button on that I sewed with my machine. That ought to be the next thing I learn. Sewing on 19 buttons was a drag! 🙂
Final Step to the Mr. Potato Head Dress-up Doll
After all the buttons were on, I put “right” sides together and started two-finger space on the top from the right corner and sewed all the way down to the same spot on the bottom. I put a small hair tie on the bottom in the middle and sewed it a couple of times to hold it in place, and then I continued to sew it all along the sides of the fabric, except for top top side.
Here, I left a hole in order to right-side-out the fabric again. Then I turned it right-side-out and folded down the part at the top that I didn’t sew. Then I used a top-stitch to sew this down. DONE!
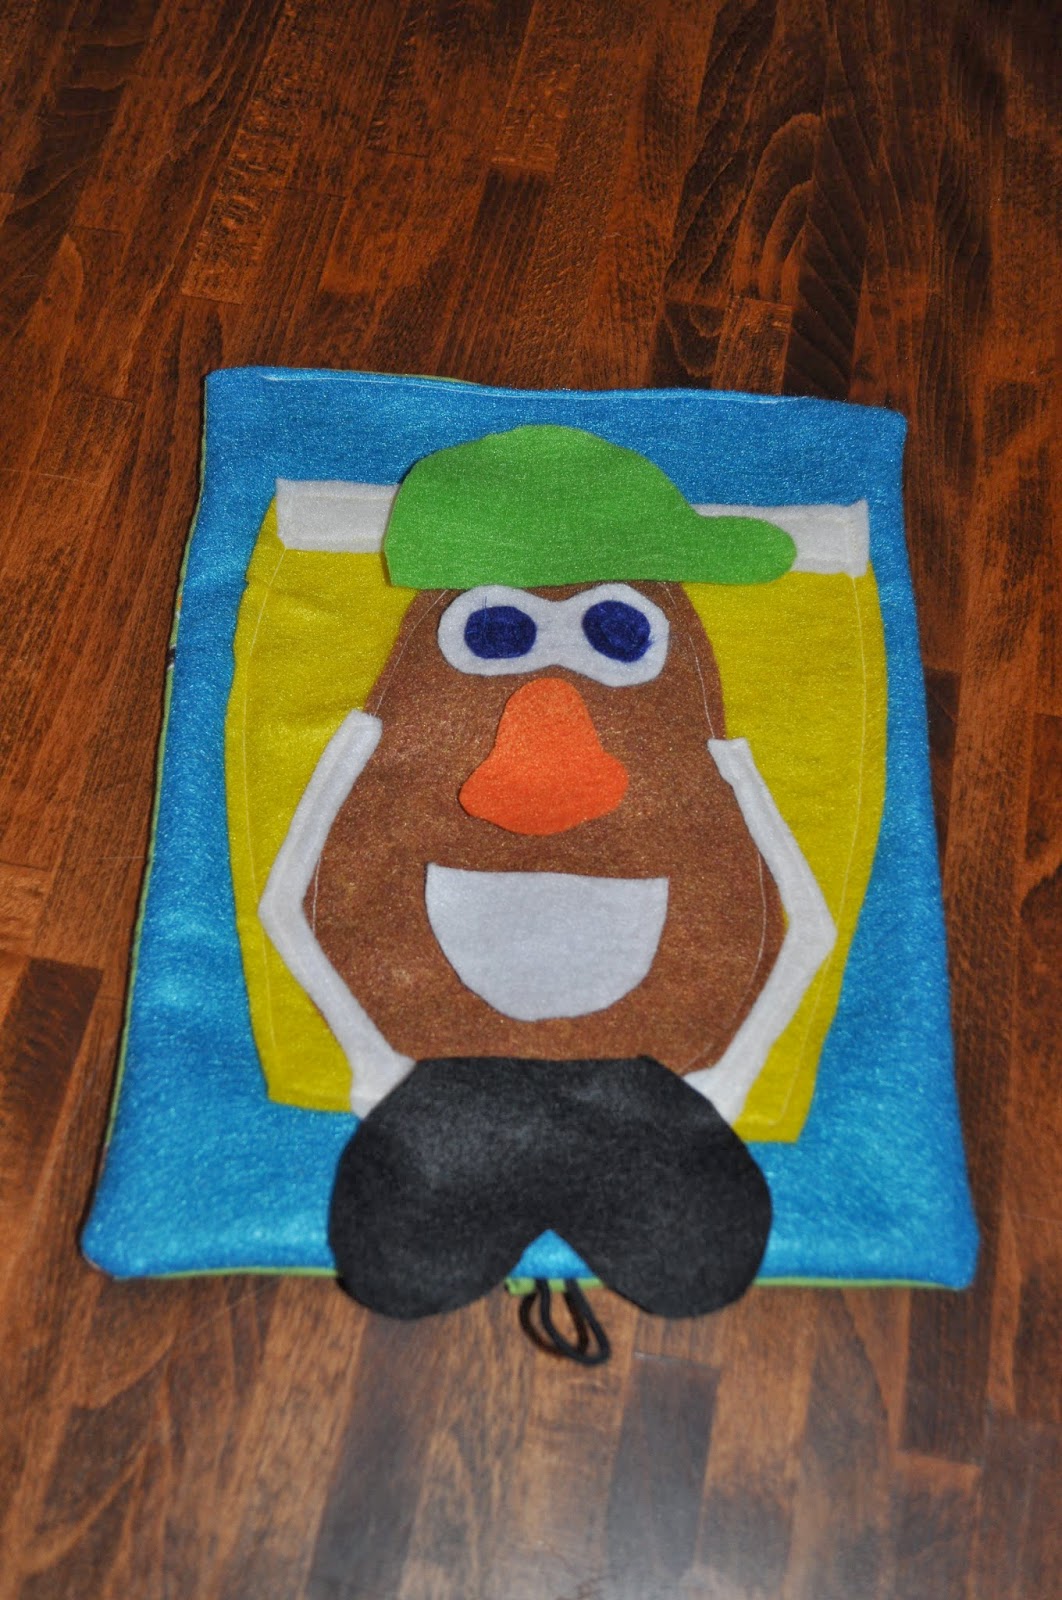
I have to say that I’m proud of myself for getting them done. My husband even helped cut out the black shoes! 🙂

I’m sorry that I don’t have more pictures to give you a better how-to tutorial. This project was made during pre-blog-tutorial times. If you have an idea for another “roll-up craft” for the diaper bag, I’d love to hear about it in the comments. Maybe, I’ll get inspired to do something new one of these days.
Be sure to subscribe to my blog to get information sent straight to your email and follow me on all my social media sites (Facebook, Instagram ,Twitter)
Have you made any crafts for birthday parties that you’d like to share? Let me know about them in the comments!! 🙂 Cheers!
Pin it and Save for Later
Kelly
Hi! I'm Kelly, an American mom and wife to a Dane. After deciding to move to rural Denmark in 2016, I decided to share the highs and lows of expat life in Denmark with lots of fun family experiences and trips in Denmark to make it all a bit more interesting! :) Welcome to My New Danish Life!


One Comment
Pingback: