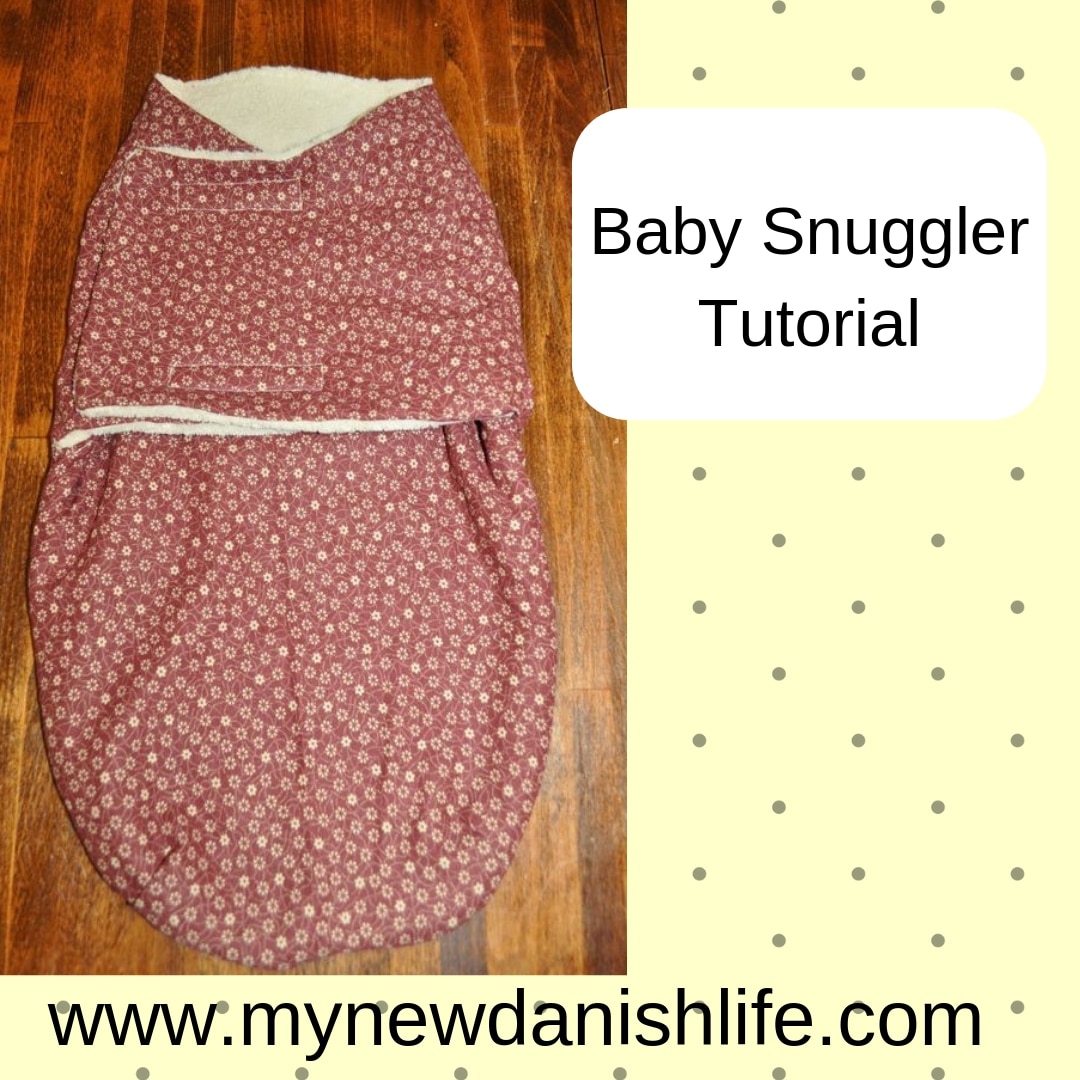
Baby Snuggler / Sewing Pattern and Tutorial
It was nearly a year ago that I made tag blankets for a friend who just had twin boys. Now, I decided to put the tag blanket to rest and  start with a new baby gift idea. I really hope it works out and is loved by both moms and babies! 🙂 I searched Pinterest to come up with some new ideas when I saw this post for a snuggler. I wasn’t sure if I was getting in over my head with this idea, but I’m realizing that I’m actually not a bad sewer. 🙂 It makes me happy to have found something I love to do that I’m actually pretty good at. Yippie! I decided to give it a go.
(This post may contain affiliated links, which means that if you click an add and make a purchase, I will receive a commission, which will not affect you in any way.)
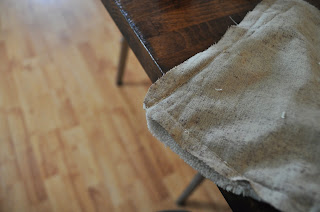
On the bottom of “A Lotta Lotta”, you will find a link to the pattern. Here is that link, just in case you can’t find it. I followed the pattern, but made adjustments along the way. I also used a light-weight fleece for the inside, which may or may not have been what she used. I can’t remember. My outer fabric was something I found at Wal-Mart. I really liked the “Little House on the Prairie” feel to it, and I also wanted something that didn’t have to be aligned.
MATERIALS
* In order to make ONE SNUGGLER, the original pattern says you need:
1 yard for outer
1 yard for inner
scissors
straight pins
fadeout marker
1/2 yard (1 inch wide) velcro
matching thread
point turner
hand-sewing needle
*I used to make TWO SNUGGLERS:
1 yard for outer
1 yard for inner
scissors
straight pins
colored pencil
3 hook Velcro strips (3/4 inch wide, 3 inch long) and 3 loop Velcro strips (3/4 inch wide, 3 inch long)[I used three of each for each snuggler making it a total of 6 hook and 6 loop, Because that was what I had at home.]
matching thread
(I didn’t sew anything by hand.)
DIRECTIONS
1) Go to the link above and print out the pattern. I had to tape the pieces together. Here is what they looked like when I was done
.JPG)
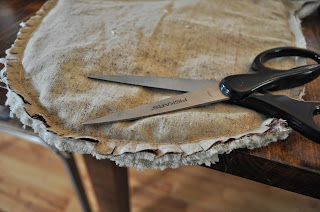
2) Follow the directions on how to pin and cut your fabric. (Remember that I got two snugglers from one yard of fabric, so really play with the fabric and know what you want to do before you cut.)
3) It says next to mark where the Velcro will go. I didn’t do this until the very end, since fabric has a tendency to move.
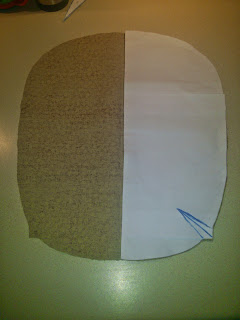
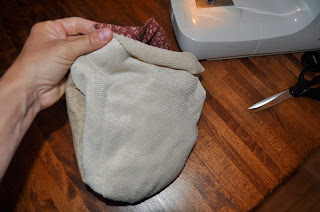
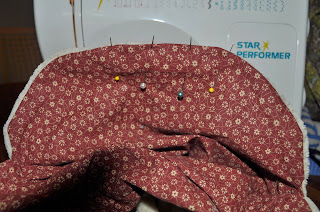
4) The next part talks about DARTS. This was confusing, and I read this over and over with my mom to try and figure it out. There is also a picture on the pattern, which I found to be very confusing as well. Here is my take on what you should do. Make sure that you copy the dart “marks” from the pattern onto the “wrong” side of your fabric. There should be three lines making an arrow. Here is a picture of the small piece of the fabric.

You are going to fold the fabric on the middle line so that the outer two lines are on top of each other. Pin this in place and sew along those “outer” lines from the raw edge to the end of the dart (or the tip of the arrow). You will do this with the big outer piece, the big inner piece, the small outer piece and the small inner piece. You will need to cut off part of this dart on the “wrong” side, so that it doesn’t stick up. Then, you’ll have to iron down the pieces left over after you cut.

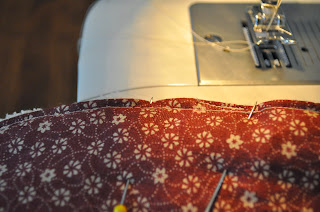
5) I kept up with the pattern. I put the small on top of the big piece with right sides together and pinned up to the “arm pit” of the snuggler. I then sewed from “arm pit” to “arm pit”. (Be aware that the small pieces is supposed to be wider than the larger piece.) You can actually follow along the sew lines that you created during step 4.

It says to backstitch at the beginning and at the end. I did this for both the inner and the outer pieces.
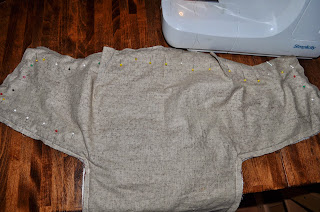
6) At this point, you are now at Step 2, Part C of the original pattern, which is where I went rogue! 🙂 Instead of doing what the original pattern says to do, I decided to try something different. (Flash foward, what I did worked.) Take the two pieces you just made in step 5 (one inner and one outer) and put them on top of each other with middle pieces touching. Make sure it is aligned and pin just the bottom portion (under arm and belly). Here is a picture of what I mean by “the bottom”.
Sew from one end to the other (just the bottom) with backstitching at the beginning and the end. ***BE SURE NOT TO SEW THE TOP PART YET!!!***
7) Take out the pins (of course) and tuck all of it inside the middle pieces so that the right sides are together.
I know that this is confusing, but play around with it. Then, pin it.
Be sure to only sew the sides and to LEAVE THE MIDDLE OPEN. That way, you can still flip it. You’ll have to start one side and stop about 2 inches or so from the middle. Then start again about 2 inches from the center on the other side and sew until the other end. Be sure to backstitch at the beginning and the end again.
Flip everything back out and top stitch the opening closed. You could top stitch the entire piece so that it isn’t noticeable. Your call.
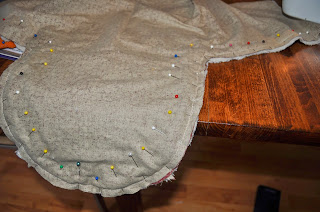
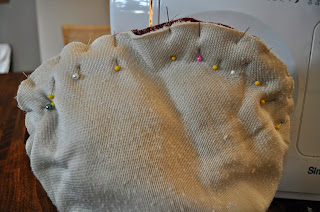
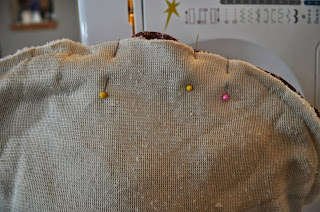
8) Now, place the pieces flat on top of each other, like you did for step 5 and pin the sides and tops together making sure to align the edges as well as the darts.
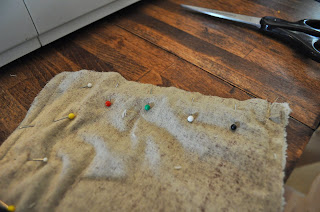
Now, sew together all but about 4 inches either on the top or the side, so you will have room to flip it. Be sure to backstitch at the beginning and end. BEFORE YOU FLIP, make sure to cut the corners of the “sleeves” and cut notches on the bottom, round part. Here are some pictures of these tasks:
Be sure not to cut the lines you just sewed when making the notches and/or cutting off the corners. Flip everything out and topstitch the opening.
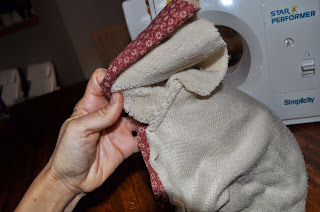
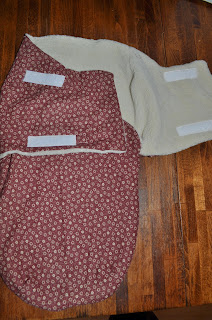
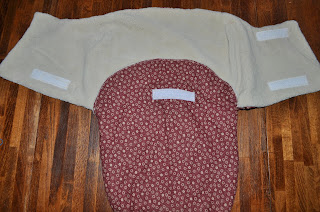
9) Now, the Velcro. I used the pattern to determine where the Velcro should go and then pinned down the Velcro. I know that the marks of the Velcro will show on the outer piece of fabric, but I wanted the Velcro to be attached to all of the pieces for more security if that makes sense. The original instructions say to sew the Velcro on last as well. There is also a picture on the original directions that show where the Velcro goes, so it will make sense. Here are some pictures of mine with the Velcro:
Be sure to subscribe to my blog to get more sewing ideas and don’t forget to follow me on social media! Thanks for visiting, and I hope you come back again!
Kelly
Hi! I'm Kelly, an American mom and wife to a Dane. After deciding to move to rural Denmark in 2016, I decided to share the highs and lows of expat life in Denmark with lots of fun family experiences and trips in Denmark to make it all a bit more interesting! :) Welcome to My New Danish Life!

2 Comments
Melissa
Thank you so much for the directions. I had them printed but those darts! I needed someone else’s mind, lol.
Kelly
No problem! Glad to help!