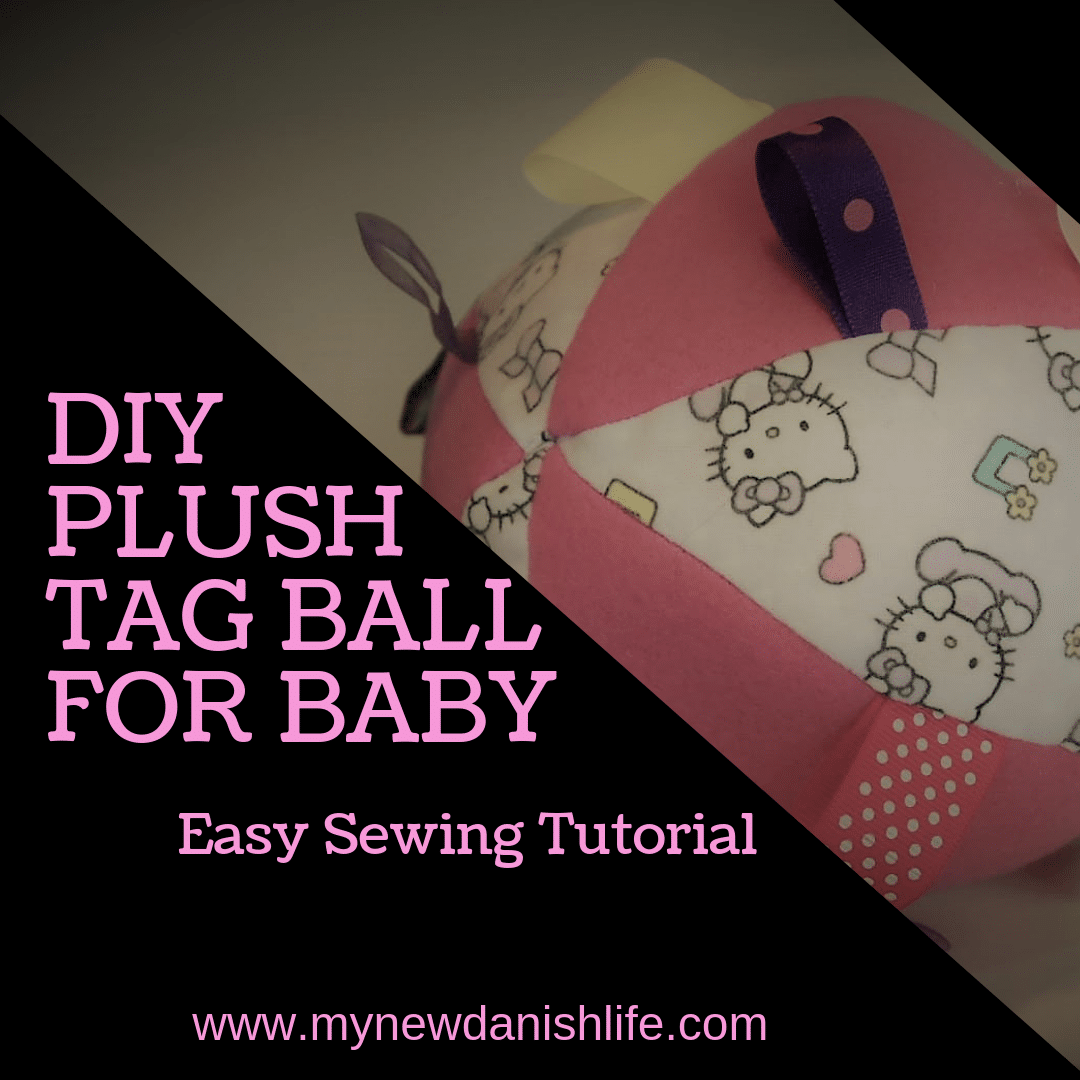
Cute DIY Tag Busy Blanket: Beginner Sewing Project
 I found a great tutorial for a baby, tag blanket online that I thought would be great for my youngest son. He likes tags, and we needed a blanket to take on our trip in the airplane. He has afghans, that we completely love, but when I saw this one, I thought that it would be perfect for our trip. It not only had tags, but also Velcro strips to hold toys so that they didn’t fall to the floor of the car or airplane. I wouldn’t have to worry about germs or lost toys, since they would be fastened to the blanket. I knew that this would be my last project before we left on our trip, so I wanted to make sure it was going to be something extremely useful.
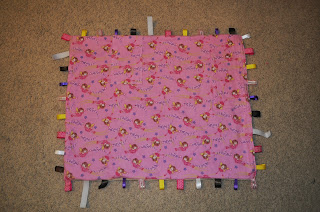
I got the idea to make a tag busy blanket from Merriment Design. The one that she made on her site was so cute. I really loved the Russian doll print she used. I wanted to keep within my budget and tried to find something nice for a baby that had lots of color to it and wasn’t expensive. I found a cute mushroom pattern at Walmart for $2.99 a yard, which was a great price in my mind. I also bought my ribbon at Hancock Fabric when it was 30% off. I tried to buy different colors to have variety as well as match the mushrooms on the blanket. I looked for the Velcro she suggested in her blog, but I ended up finding a pack of 5 different colors (red, orange, yellow, green, and blue) that were used for fastening Electric wires together. It seemed perfect for this project, and I loved that they were colorful. I bought them instead of what was recommended. They seemed to work nicely. I also used part of a fitted sheet (the same one from the stuffed animal sleeping bag) that was very soft. I would say that the material was comparable to a stuffed animal. The mushroom fabric was flannel, so it was also softer than regular cotton. My goal was for the little guy to be warm and cozy on the airplane, so I really wanted to make sure that the fabric on the back side was soft enough for a baby!
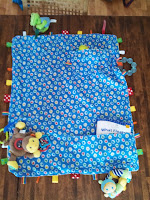
I followed the directions exactly as they were stated on the website, except for how to sew the Velcro attachment strips, since I decided to use different ones. I folded the strips and then sewed them. It was much more difficult since I had to sew through two layers of Velcro, but I just made sure to go over it about 5 times. You can do this by going over it once and then pushing the back button, going over it again, etc. I used some of the toys that my son already had to attach to the blanket. I even placed a small book in the pocket. Having a rattle, teething toy, and plush animal are really good ideas for items to attach with the Velcro. The monkey toy from the picture was one of my son’s favorites, so we weren’t leaving home without it! 🙂 All in all, the blanket was a success. Here is the finished project with a slight view of the back side.

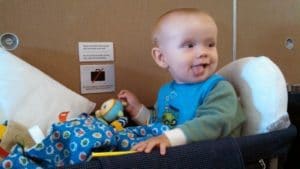
The blanket wasn’t just soft for my little guy on the trip, it also fit perfectly in the bassinet on the airplane. We had no worries about where his toys were, since they were all attached to the blanket, and he had enough to entertain and sooth him for the long, overseas trip. (See my post on Traveling Abroad with Babies and Children to learn more about how we travel.)
*UPDATE* I have since made many more of these blankets. Here are pictures of two of them. These patterns are flannel as well, but the backs are fleece.![]()
![]()
Kelly
Hi! I'm Kelly, an American mom and wife to a Dane. After deciding to move to rural Denmark in 2016, I decided to share the highs and lows of expat life in Denmark with lots of fun family experiences and trips in Denmark to make it all a bit more interesting! :) Welcome to My New Danish Life!

2 Comments
Pingback:
Pingback: